
0
$0
0 items
If you're just starting to build your SheShed cabin kitset or have been using it for a while and want to add power, this blog post is for you. Power is great for helping your home office, studio or guest house, become a functional and beautiful space to use.
In this blog post, we'll go over the different ways you can add power to your timber cabin and what each option has to offer. Whether you're looking to install lighting features, power plugs, or something else entirely. Adding power is a relatively easy task and can be done in just a few steps.
Keep reading for instructions on how to get your SheShed up and running!
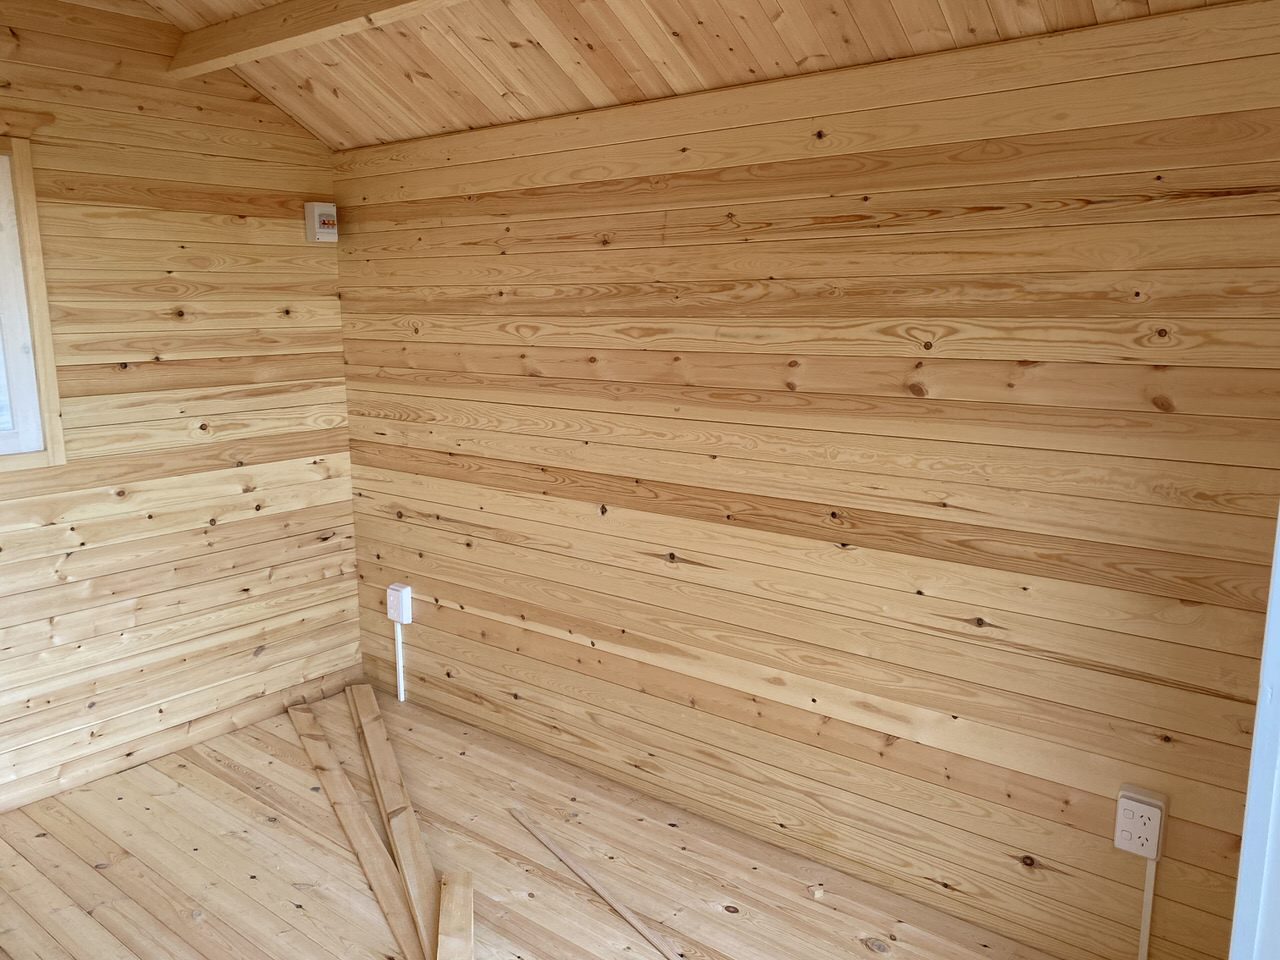
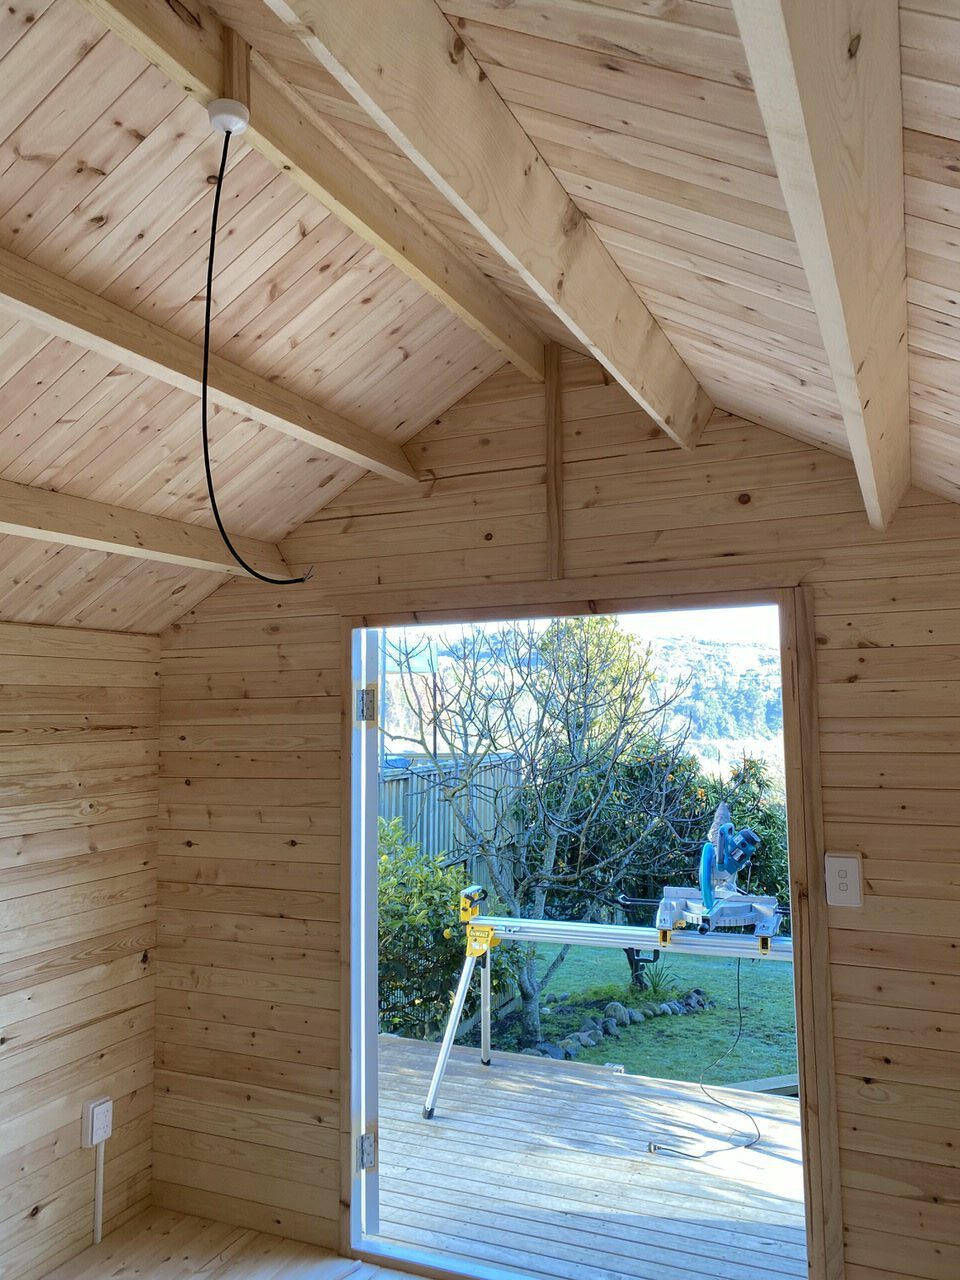
Our cabins don’t come with power installed, they come as a kitset structure only, giving you the ability to install lighting & add power in the best location for your layout.
Yes, absolutely! 99% of our clients get power installed in their cabins, although we don’t recommend that you attempt this yourself (Unless you’re a qualified electrician). So once you have decided where you would like your lights & power outlets, we recommend engaging a local contractor to carry out your installation. For larger & more complex requirements, you may choose to engage an electrician before or during your construction, to make the installation easier.
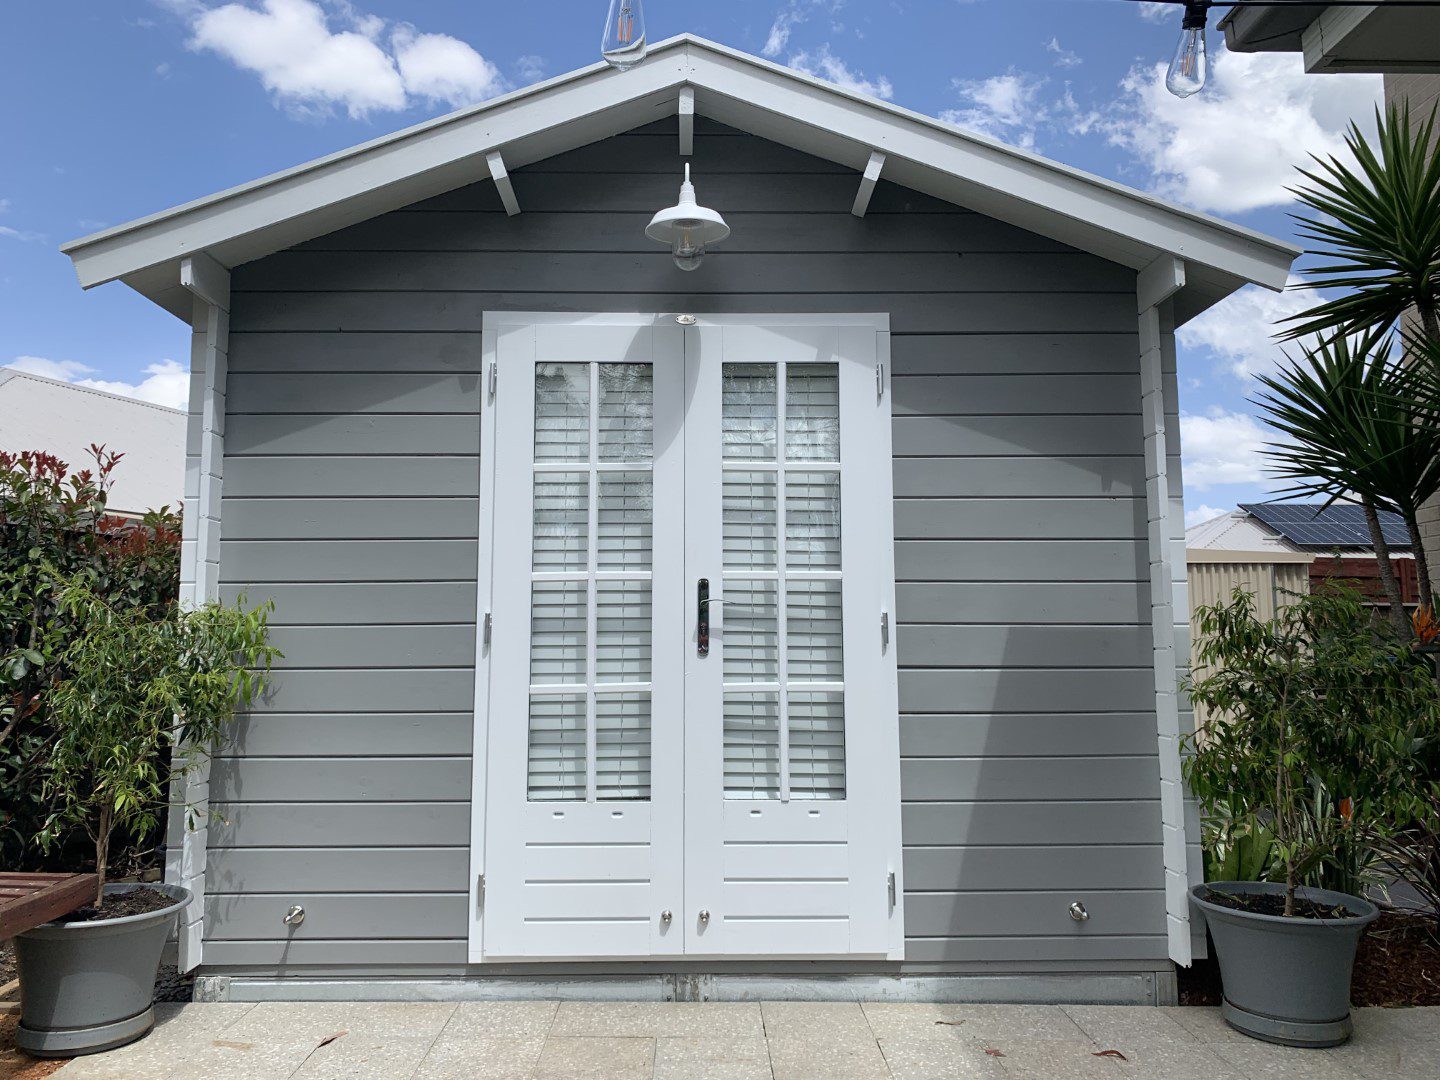
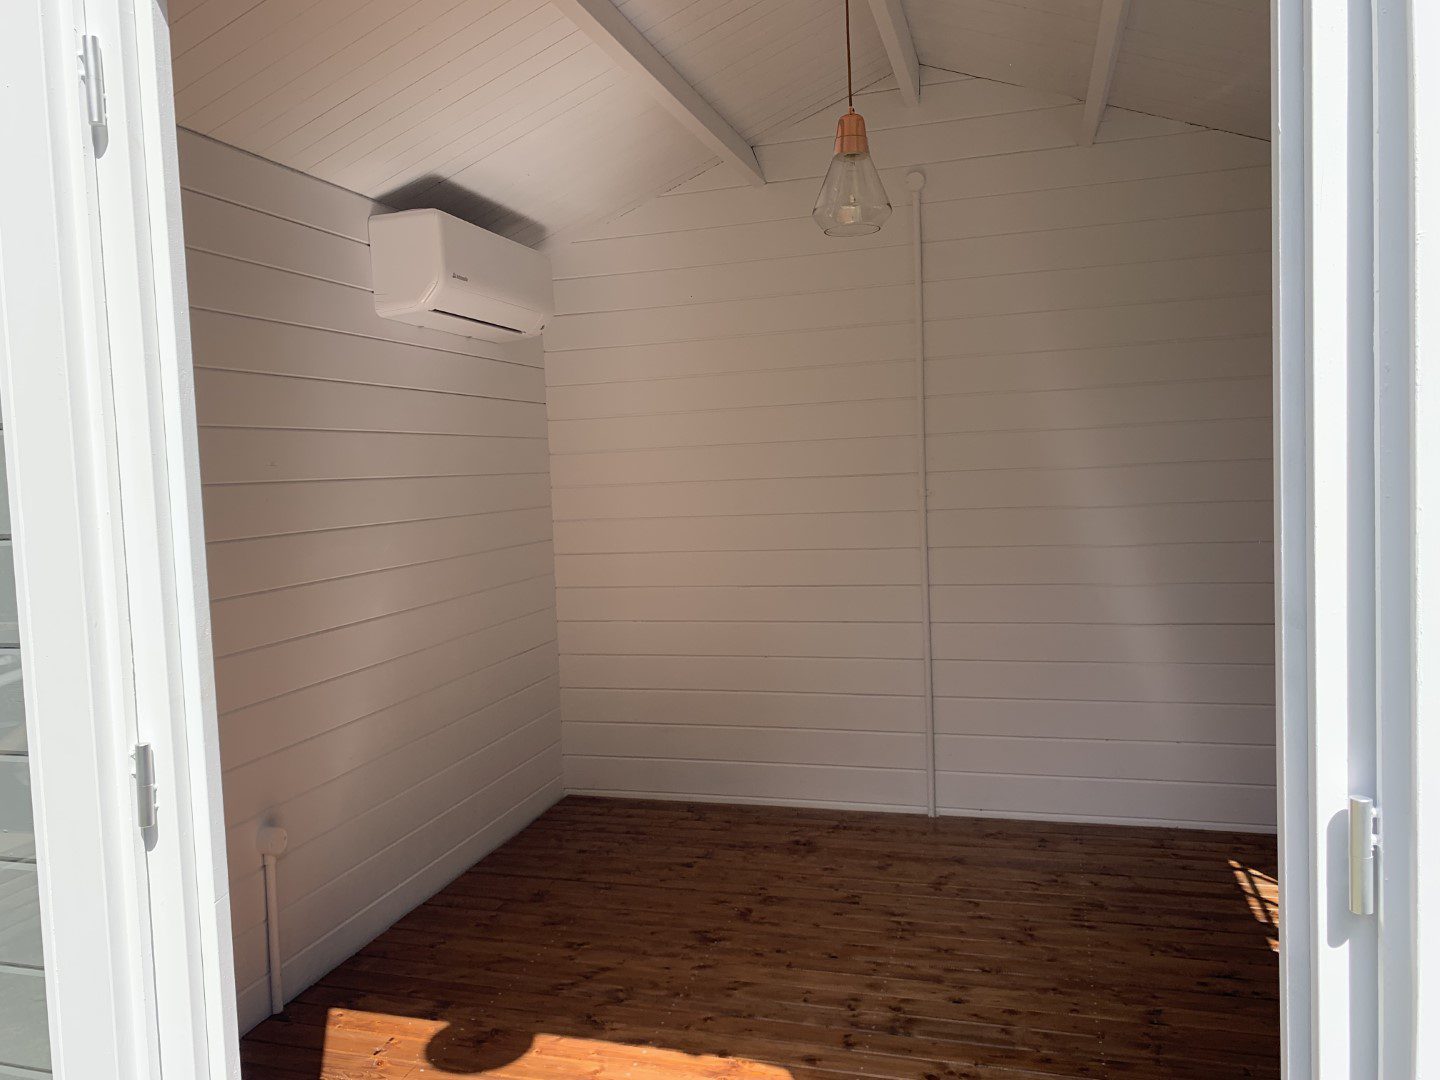
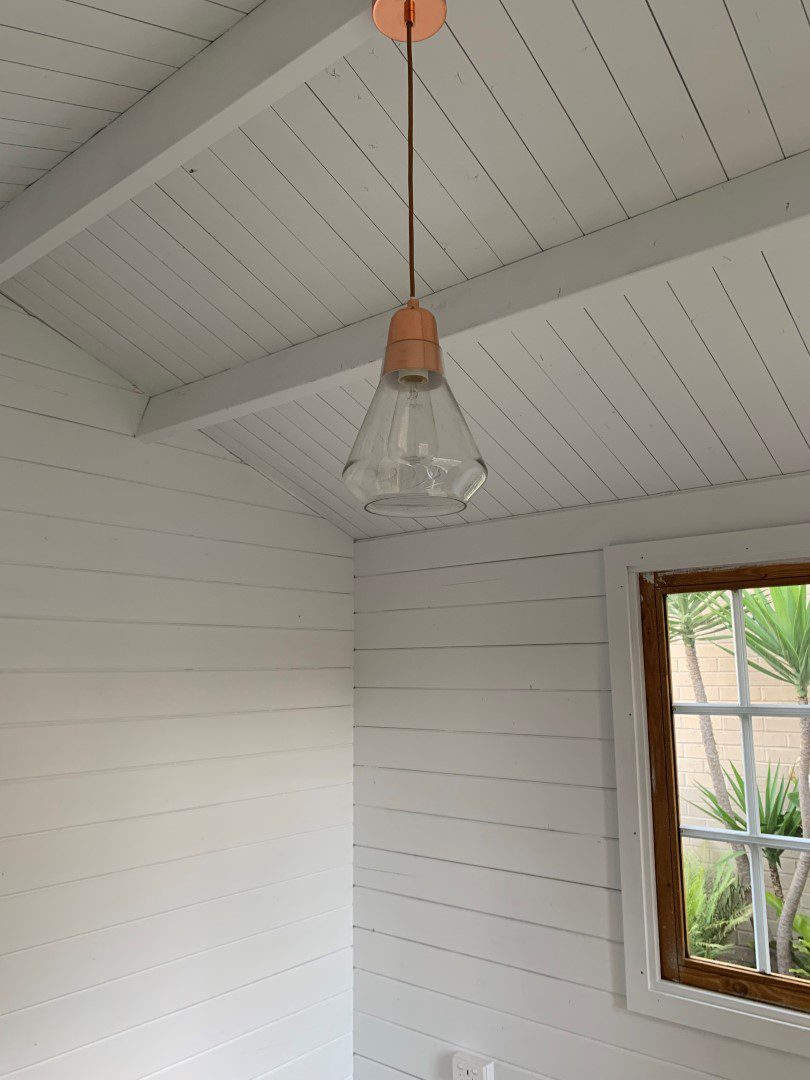
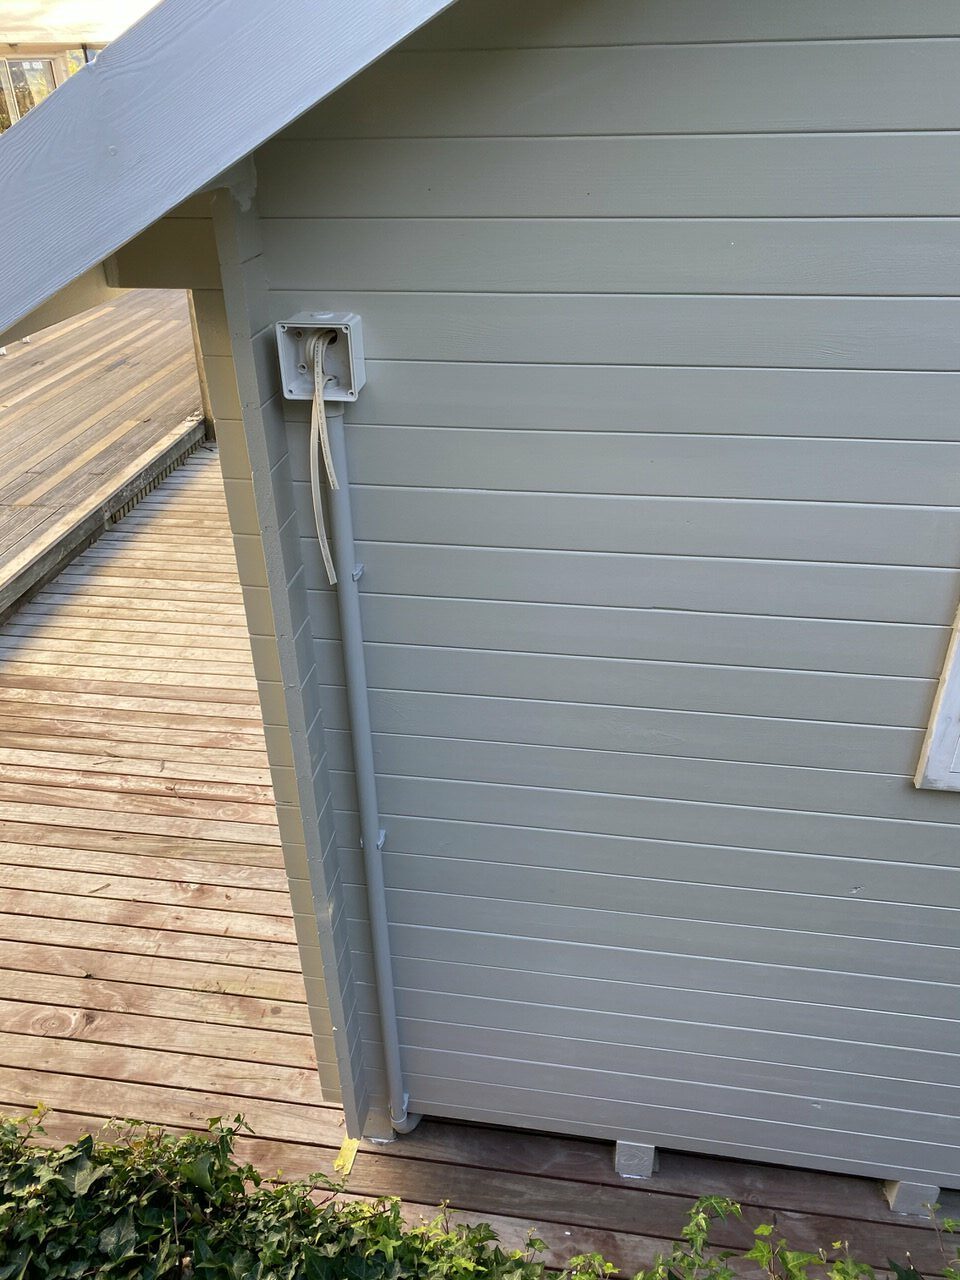
Sheshed cabins unlike your standard house construction don’t typically come with a wall cavity as the wall logs are all made from solid timber, so most of your cabling will need to be installed using conduits installed on either the internal or external of the structure. If your cabin has been built on an elevated platform, most of the cabling can be installed beneath the floor. We also recommend installing the conduits up the wall in the least visible position i.e.. If the back wall or one of the side walls of the shed is tucked away & not visible, this may be the best location to run the conduit for the lighting up the outside of the wall or placing the conduits in the least visible corner of the shed when you first step through the door to keep your cabin looking beautiful.
Most of our clients install the power & lighting after the construction of the cabin is completed. For larger & more complex requirements, you may choose to engage an electrician before or during your construction, to make the installation easier.
It’s a great idea to do a sketch of how you plan to set your cabin out once completed, the ideal location for your appliances or lighting requirements & then work together with your electrician to get the finished result just as you had anticipated when you set out on your cabin journey.
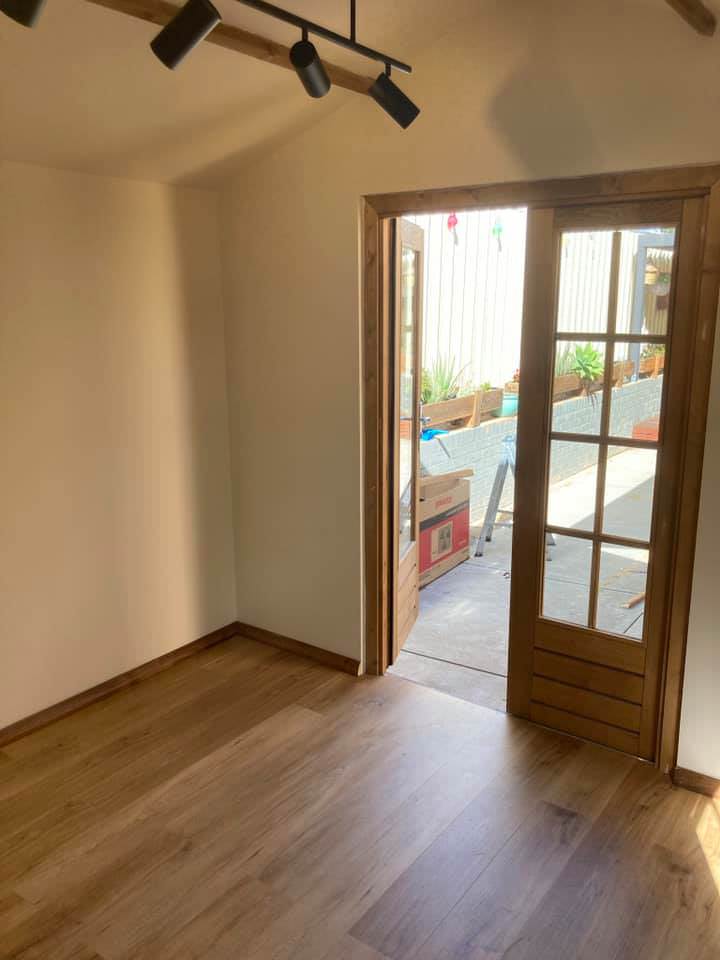
If using square trunking conduit, we recommend slotting the holes where the conduit is fastened to the wall to allow for the natural movement of the walls behind or if using saddles to fasten the conduit in place ensure that any saddle clips and are not screwed too tightly preventing movement as required. We always recommend not installing conduit tightly between the ceiling & the floor or between the ceiling beams and the top of the door frame as this can cause unnecessary tension to the conduit or the building components.
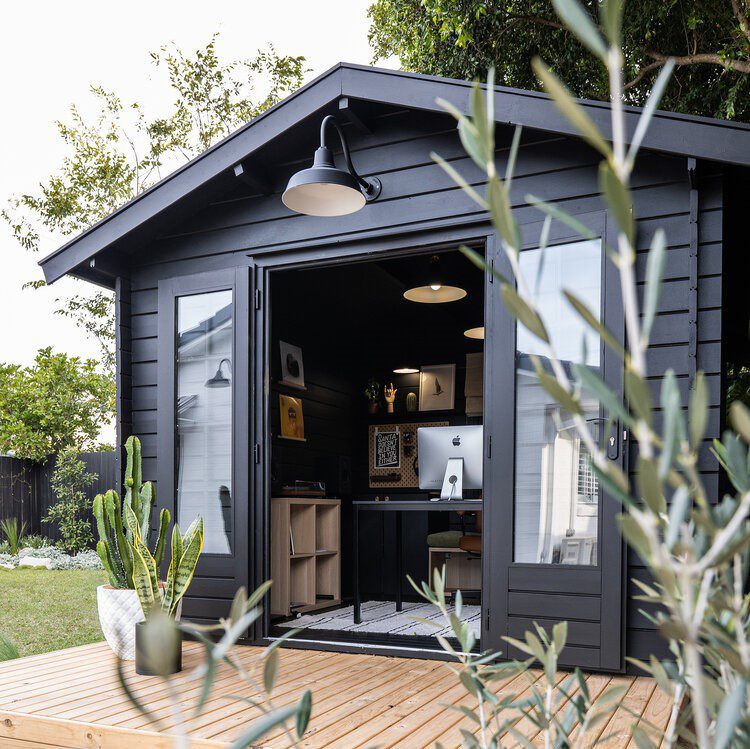
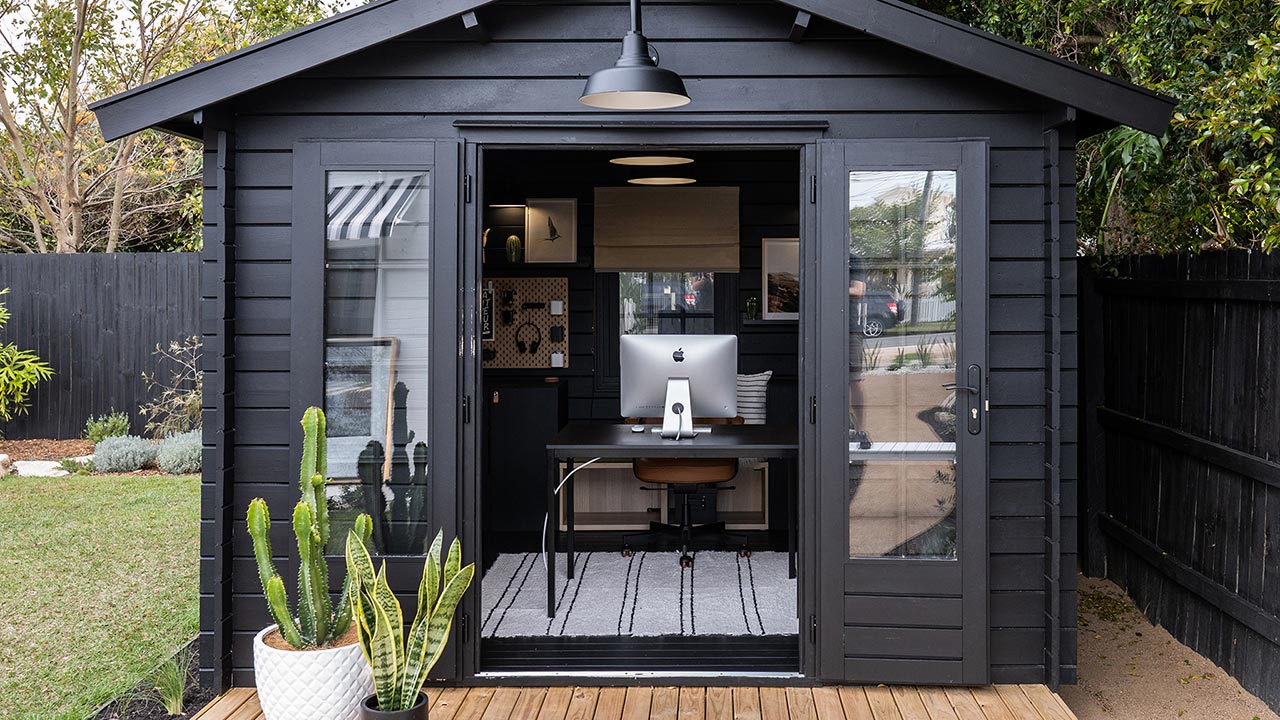
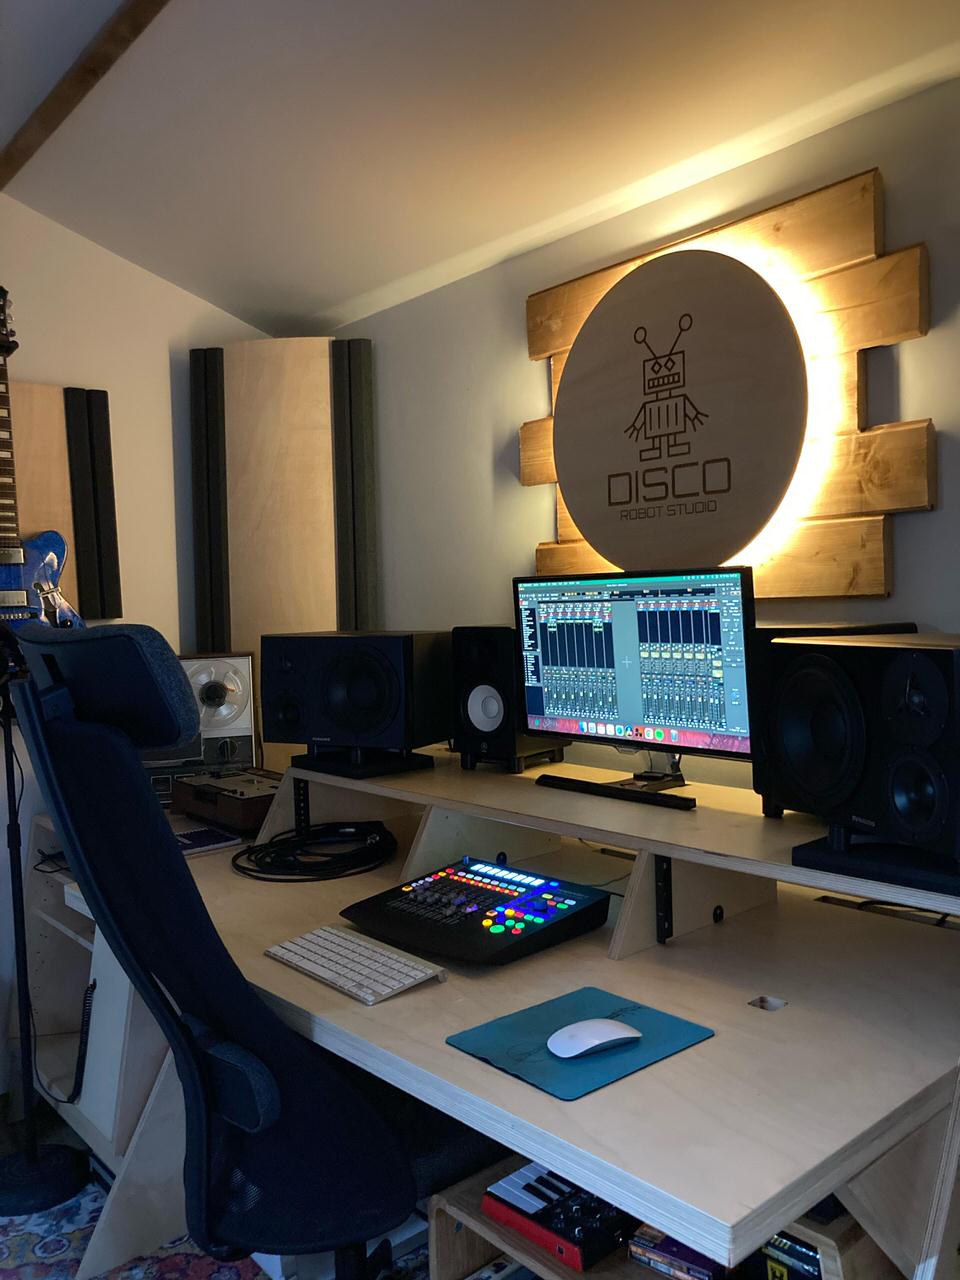
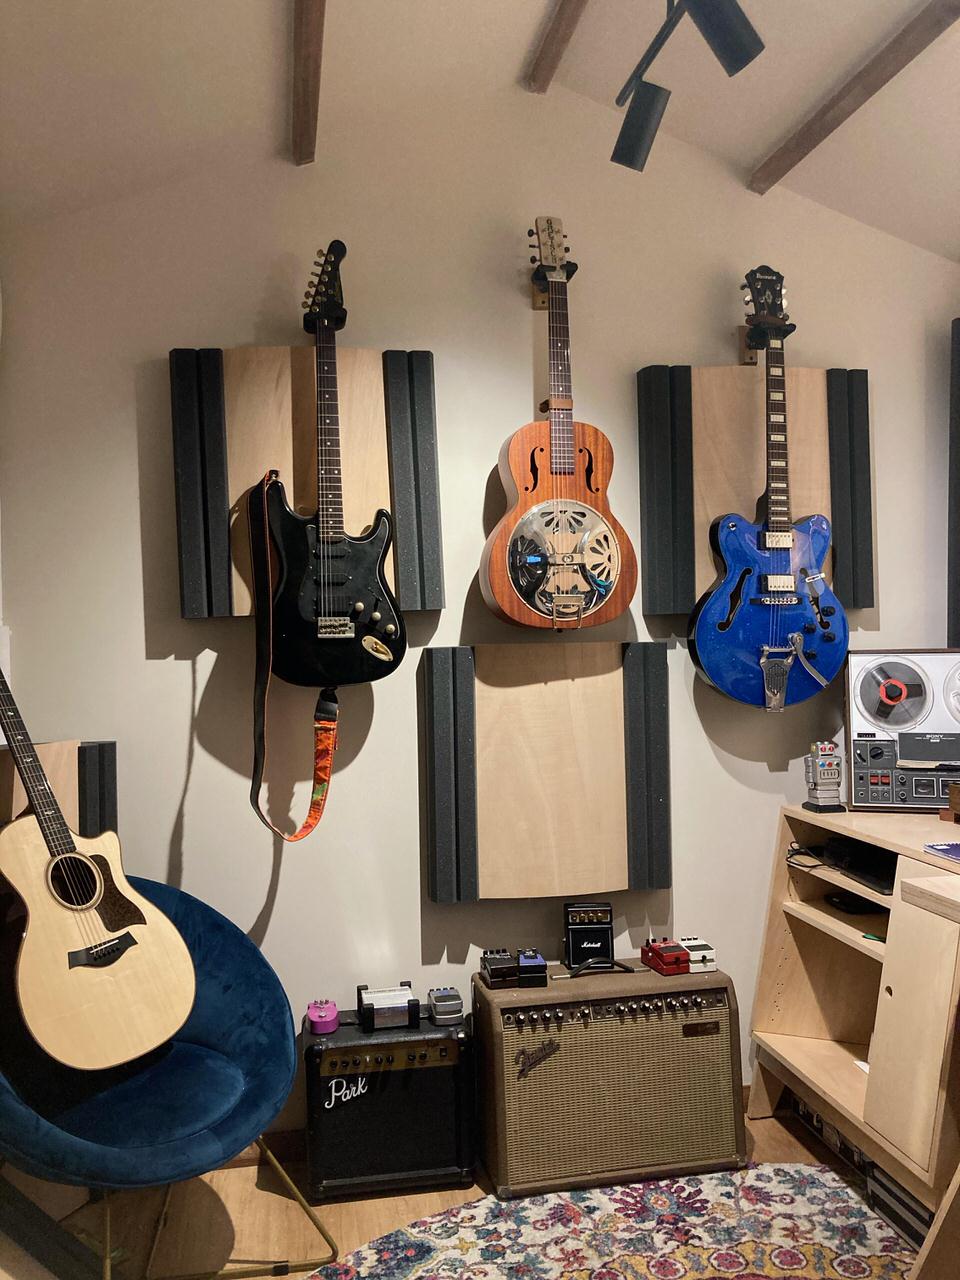
Mark & Loni's Black Barn Home Office, features lighting from Barnlight Australia both on the exterior and interior of their Star Cabin Kitset.
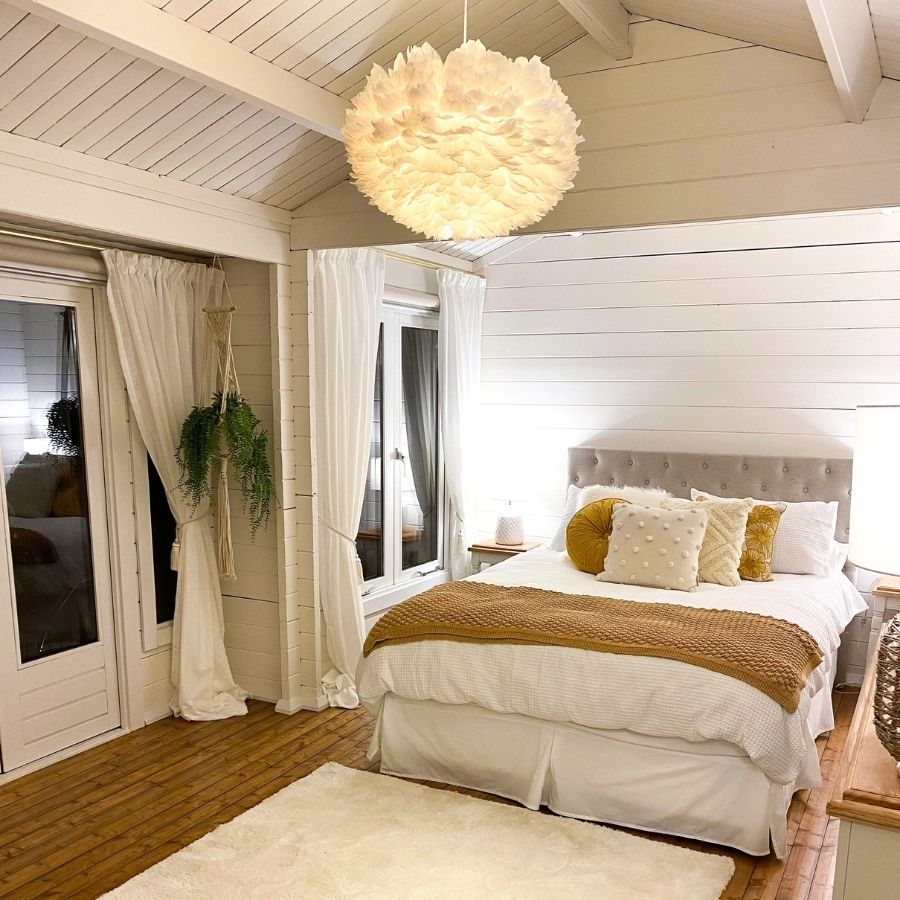
Leanne created a cozy space for guests to stay with soft lighting and a feature pendant for this poolside guest house using a Brook River Cabin Kitset.
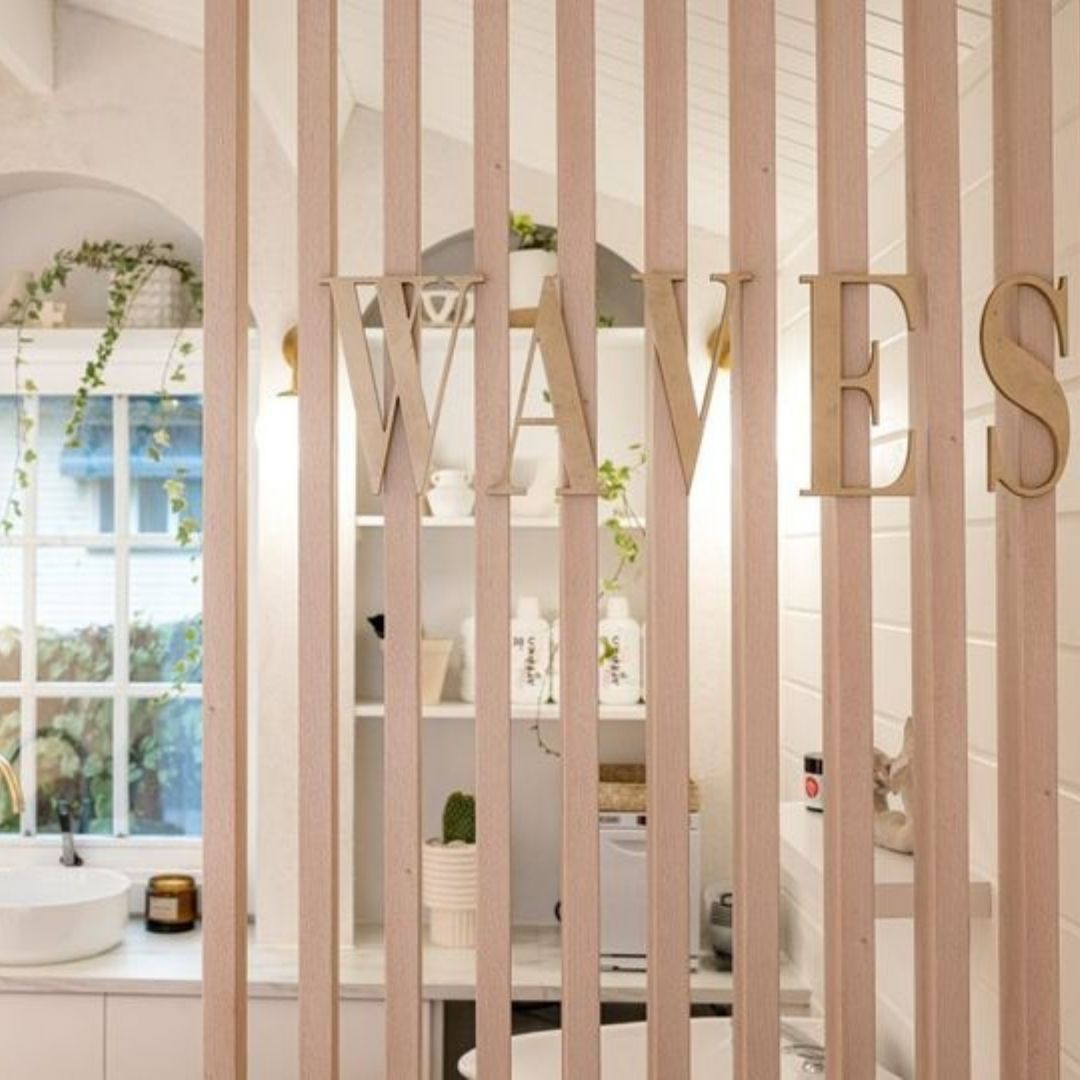
Lisa from Waves Hair Salon in Brisbane compltely transformed her Cabana Cabin kitset in a magical space for her clients with the help of Interior Designer She Creates Co.
SheSheds are the perfect way to add an extra room to your home without having to go through the hassle of building an addition. And, now that you can add power to your cabin, it’s even easier to make your cabin into a functional space for work, recreation or guests. If you have any questions about adding power to your SheShed Cabin, let us know and our friendly team would be happy to help.
2024
SheShed Australia & New Zealand. All rights reserved.