
0
$0
0 items
Last week we looked at the beautiful shed that Chris and Julia built as a backyard office and play room for their kids to use when studying at home. In Part 1 we shared the lovely testimonial of how they found the whole process, and now here in Part 2 Chris is kindly following up our questions with some more details about the custom galvanised steel frame they put together for the foundation of the shed. If you haven’t read Part 1 yet, you can click here to read that first.
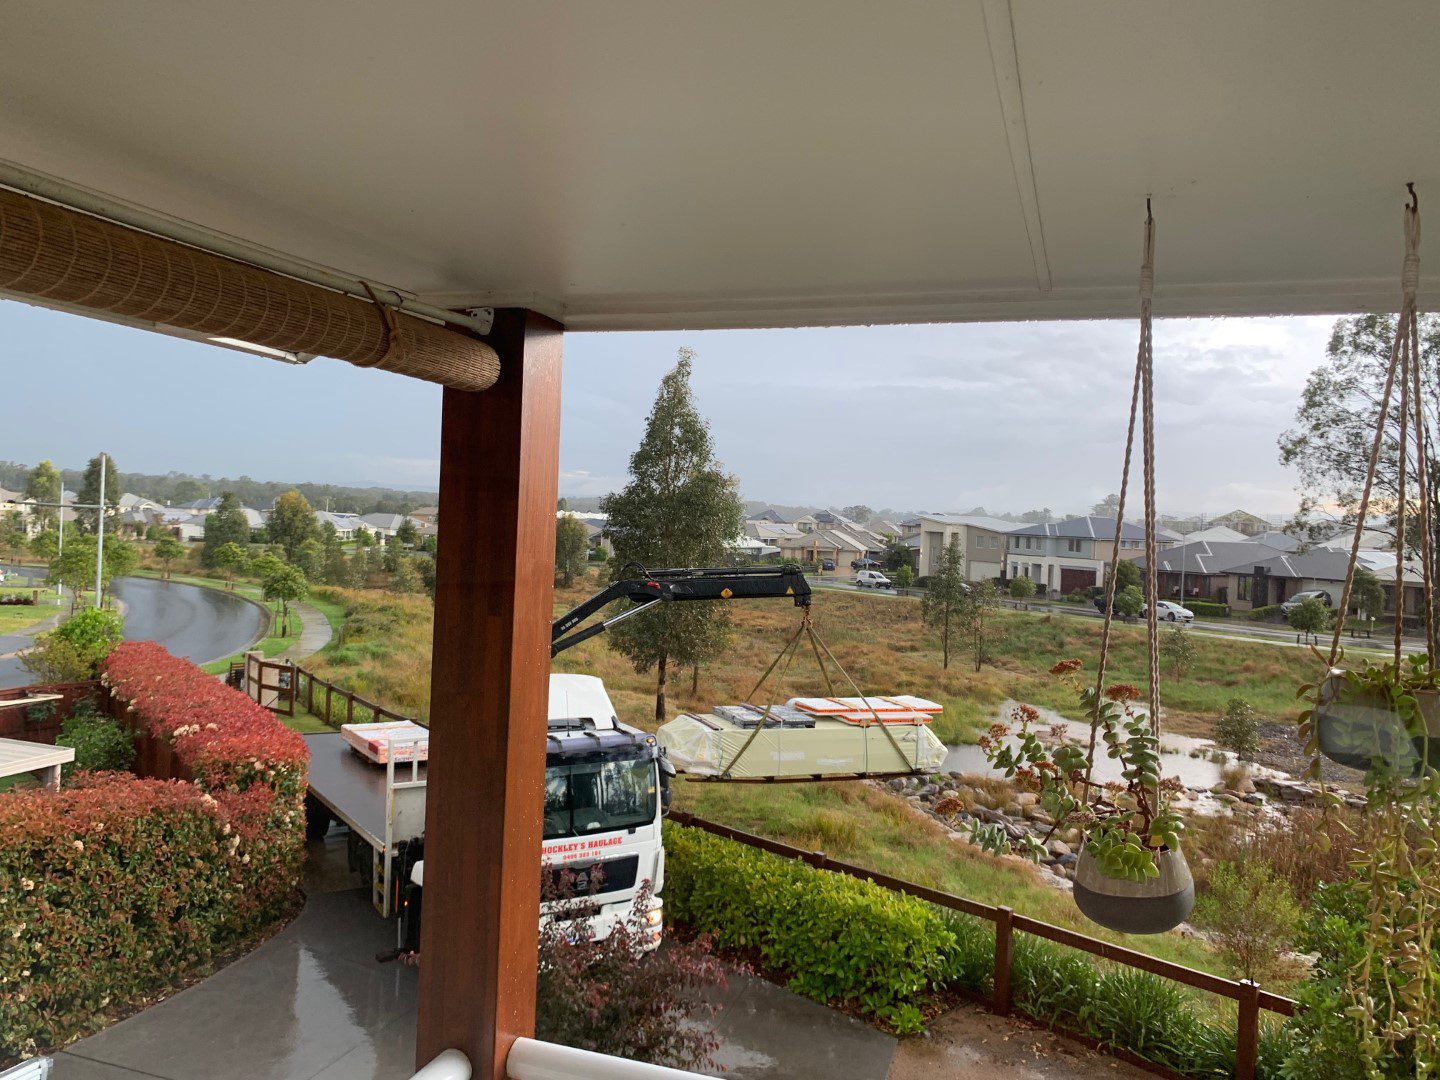
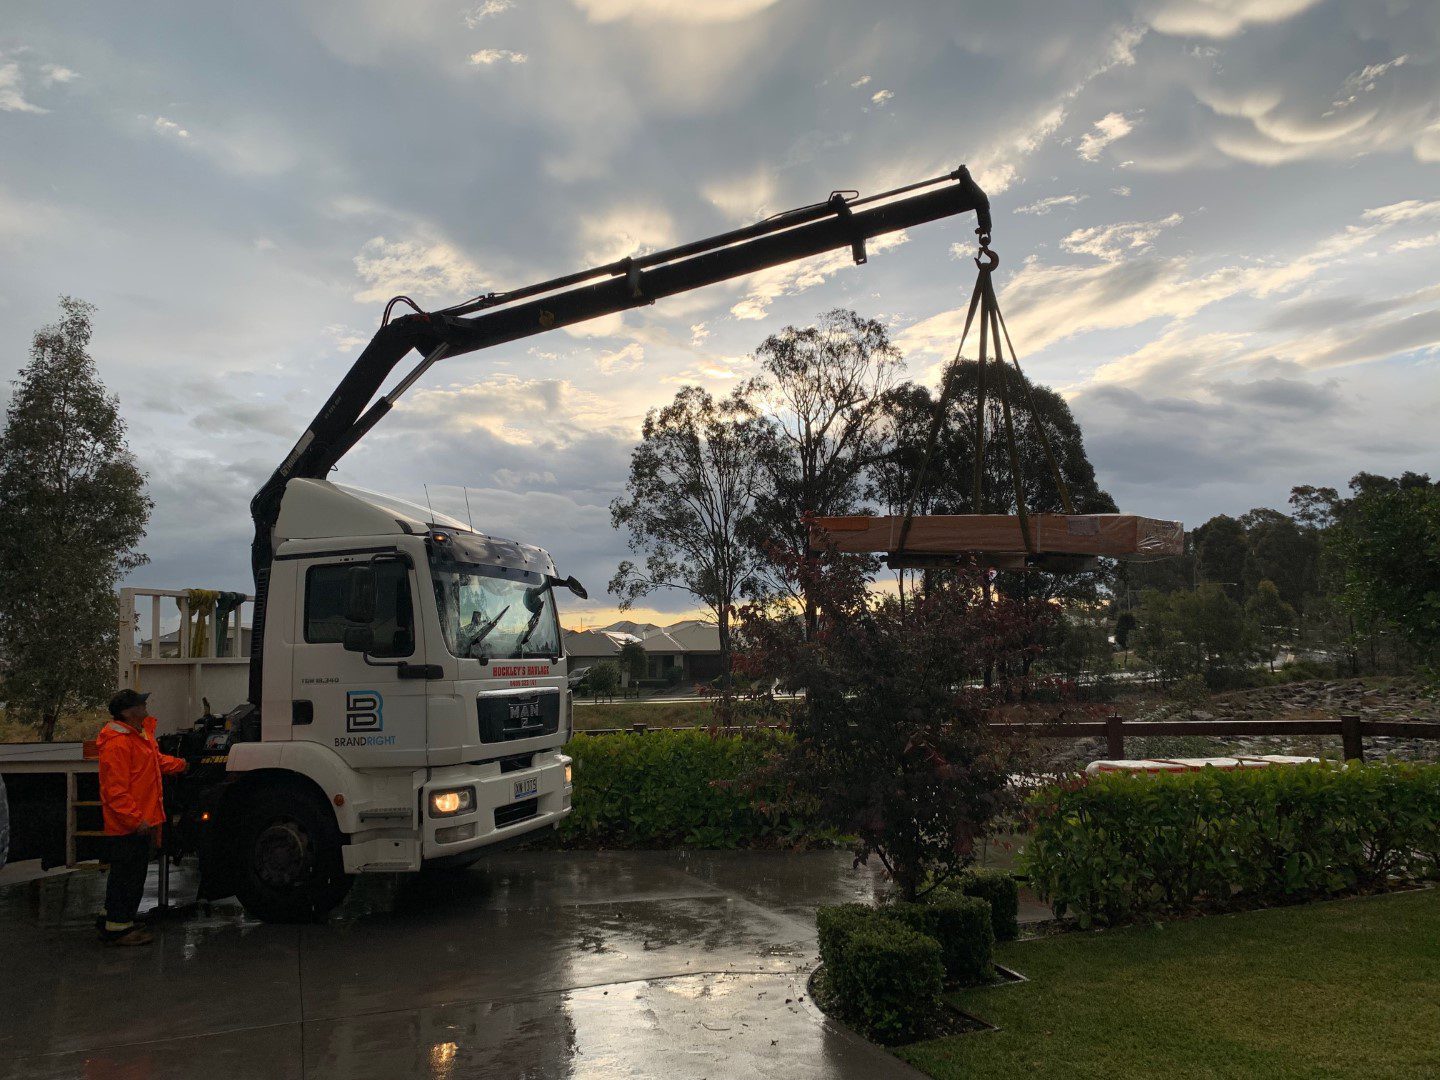
Stage 1: Kitset Delivery
First things first, the delivery crane/Hiab truck brings the kitset from the shipping depot to the house. First they unload the kitset itself, (all wrapped up on the pallet with the doors and window strapped on top), then they unload the stack of foam insulation panels for the roof.
Stage 2: Subframe Construction
Chris decided to use a Galvanised Stratco PROBEAM 140 to build out the subframe for the shed, so we asked him how he found that part of the process, and what would he have done differently:
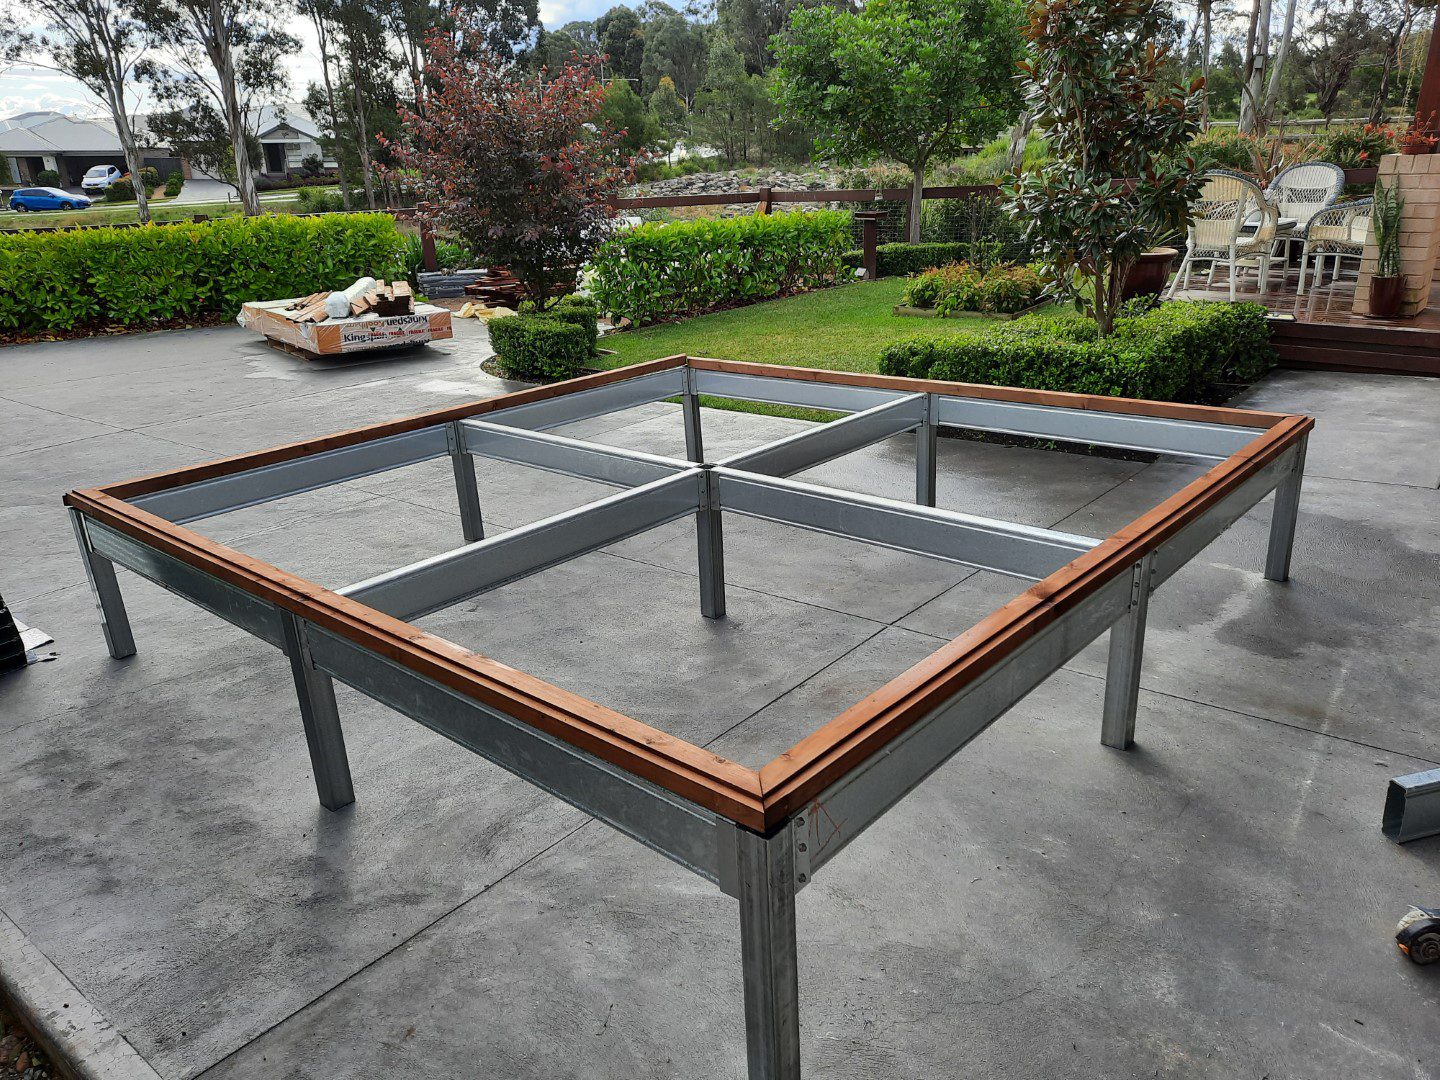
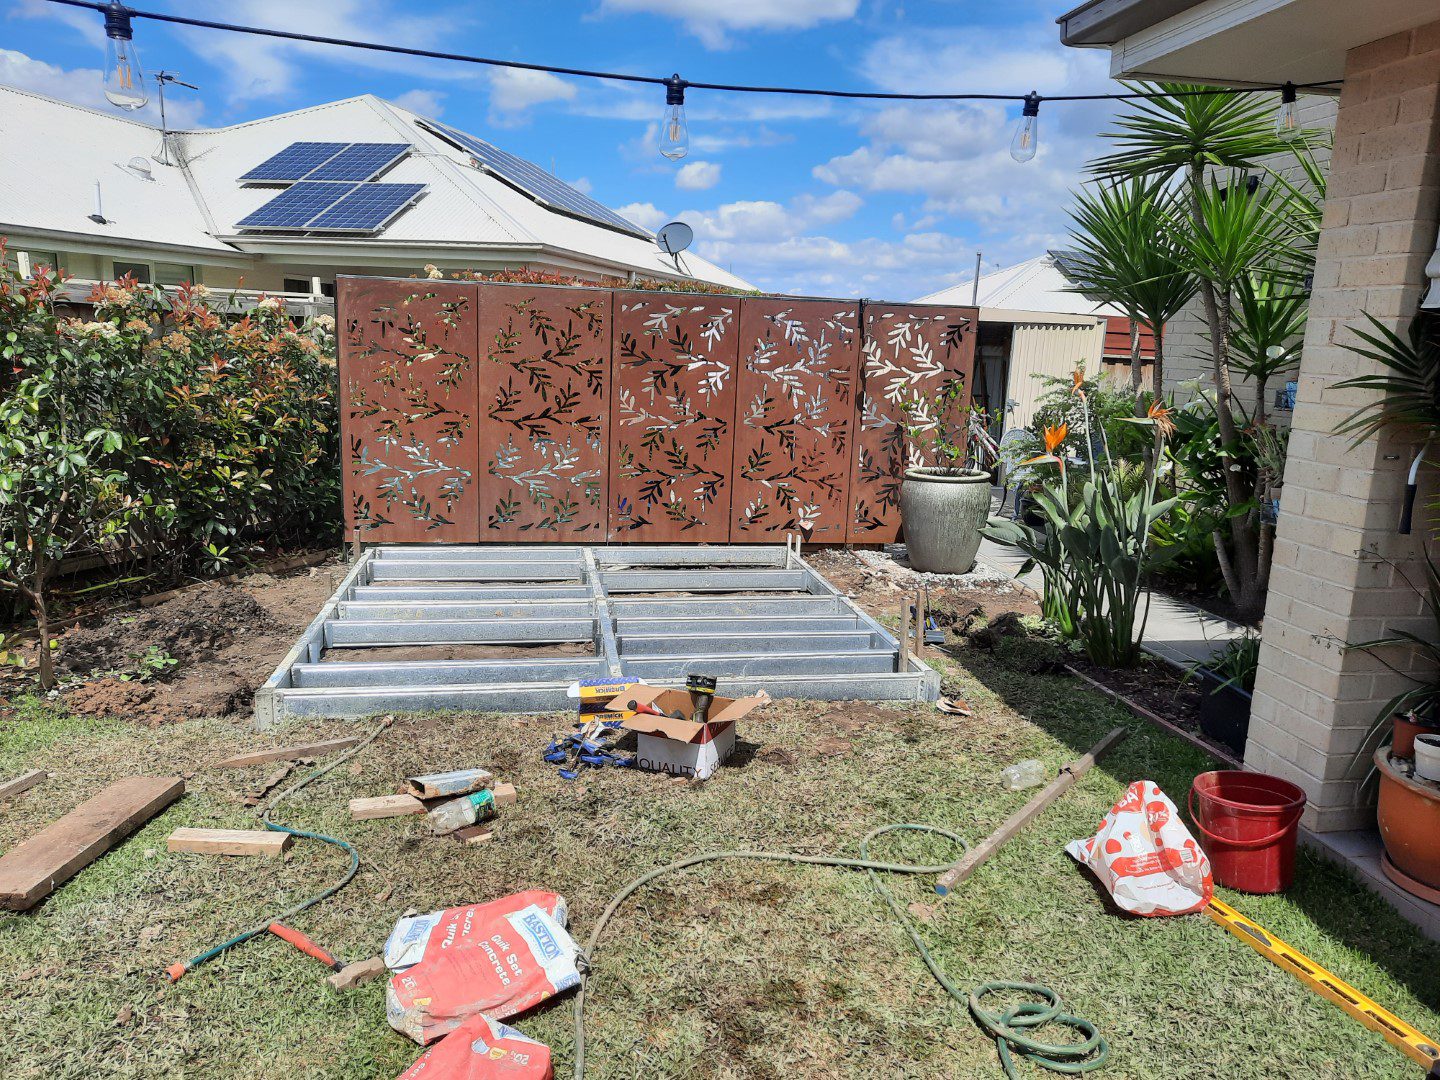
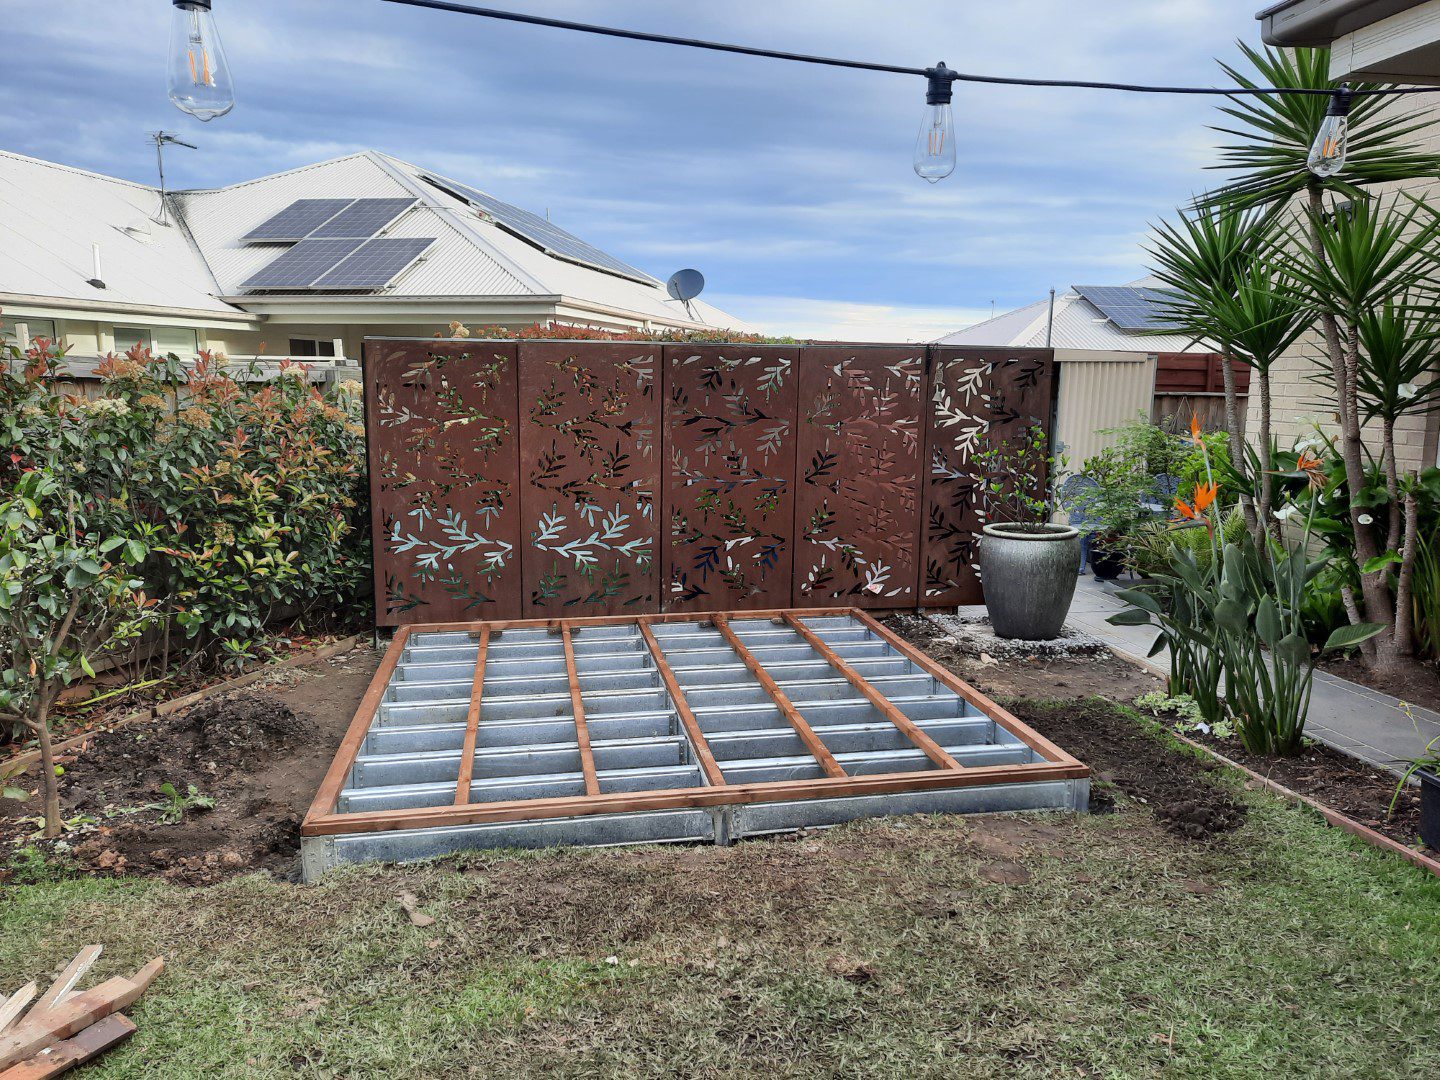
“The sub-frame cost $1,450.19 from Stratco including the delivery. I ordered standard 3m lengths which I cut down myself to achieve the nine-post design I wanted. The frame was set on posts that were concreted into the ground. All screwed together with 12 x 20mm Tek screws and a cordless drill. To save on cost I could have gone with a six-post design as the Pro-Beam will take the longer spans as well as have less cross beams.”
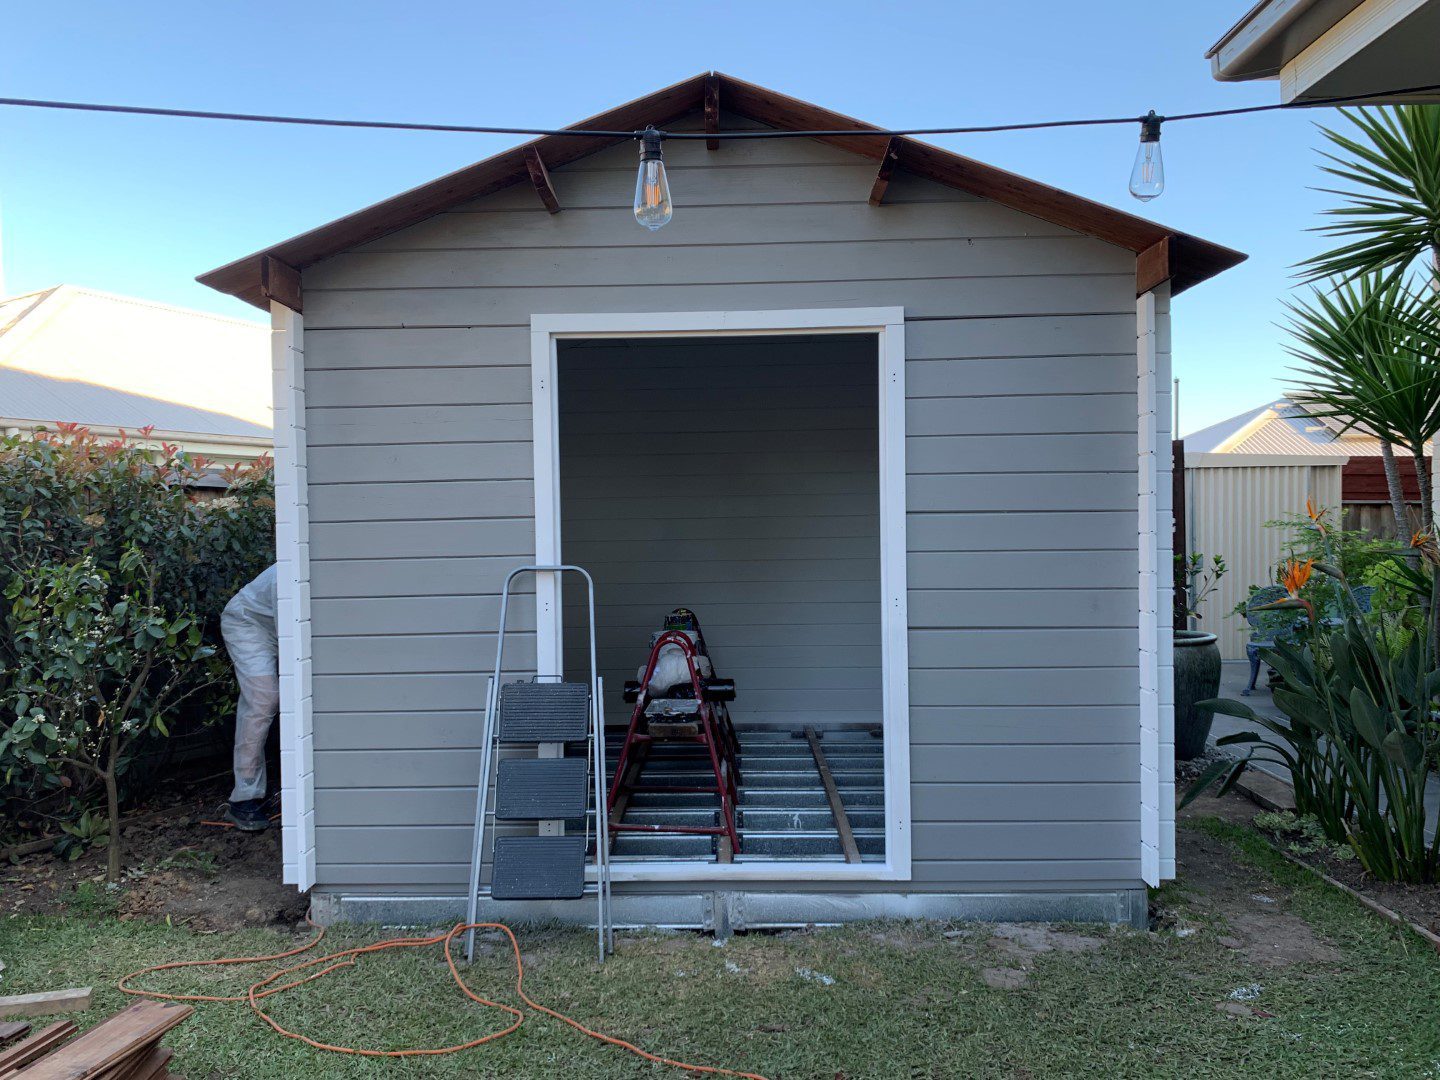
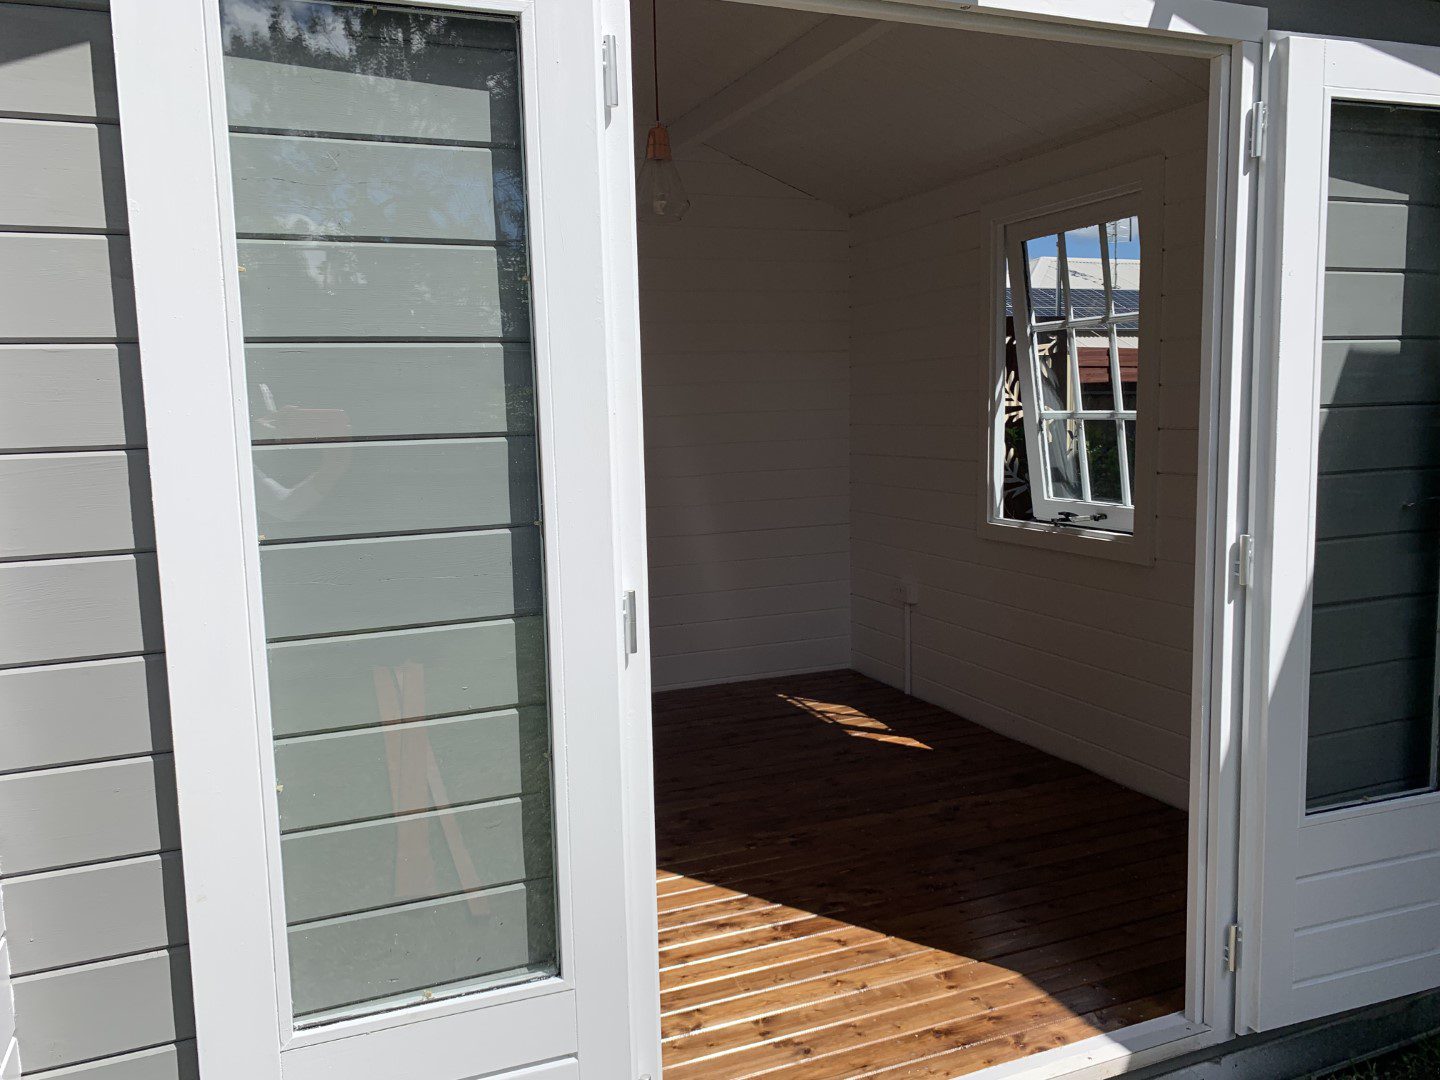
Stage 3: Building up the kitset cabin
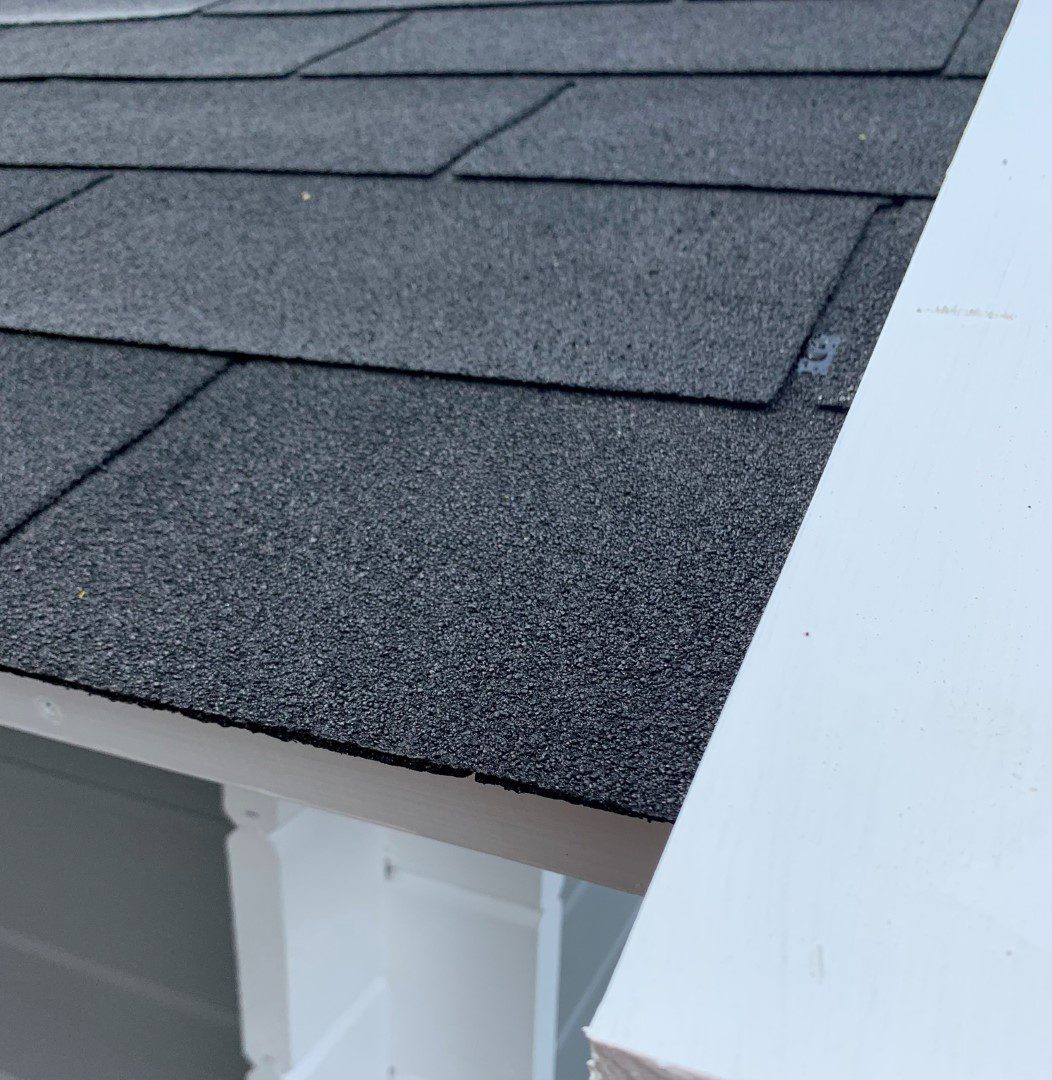
Now that there’s a sturdy and level surface to build on, Chris and team can start assembling the walls of the kitset, and then finish with the roof boards and ashpalt tiles on top of the foam insulation panels.

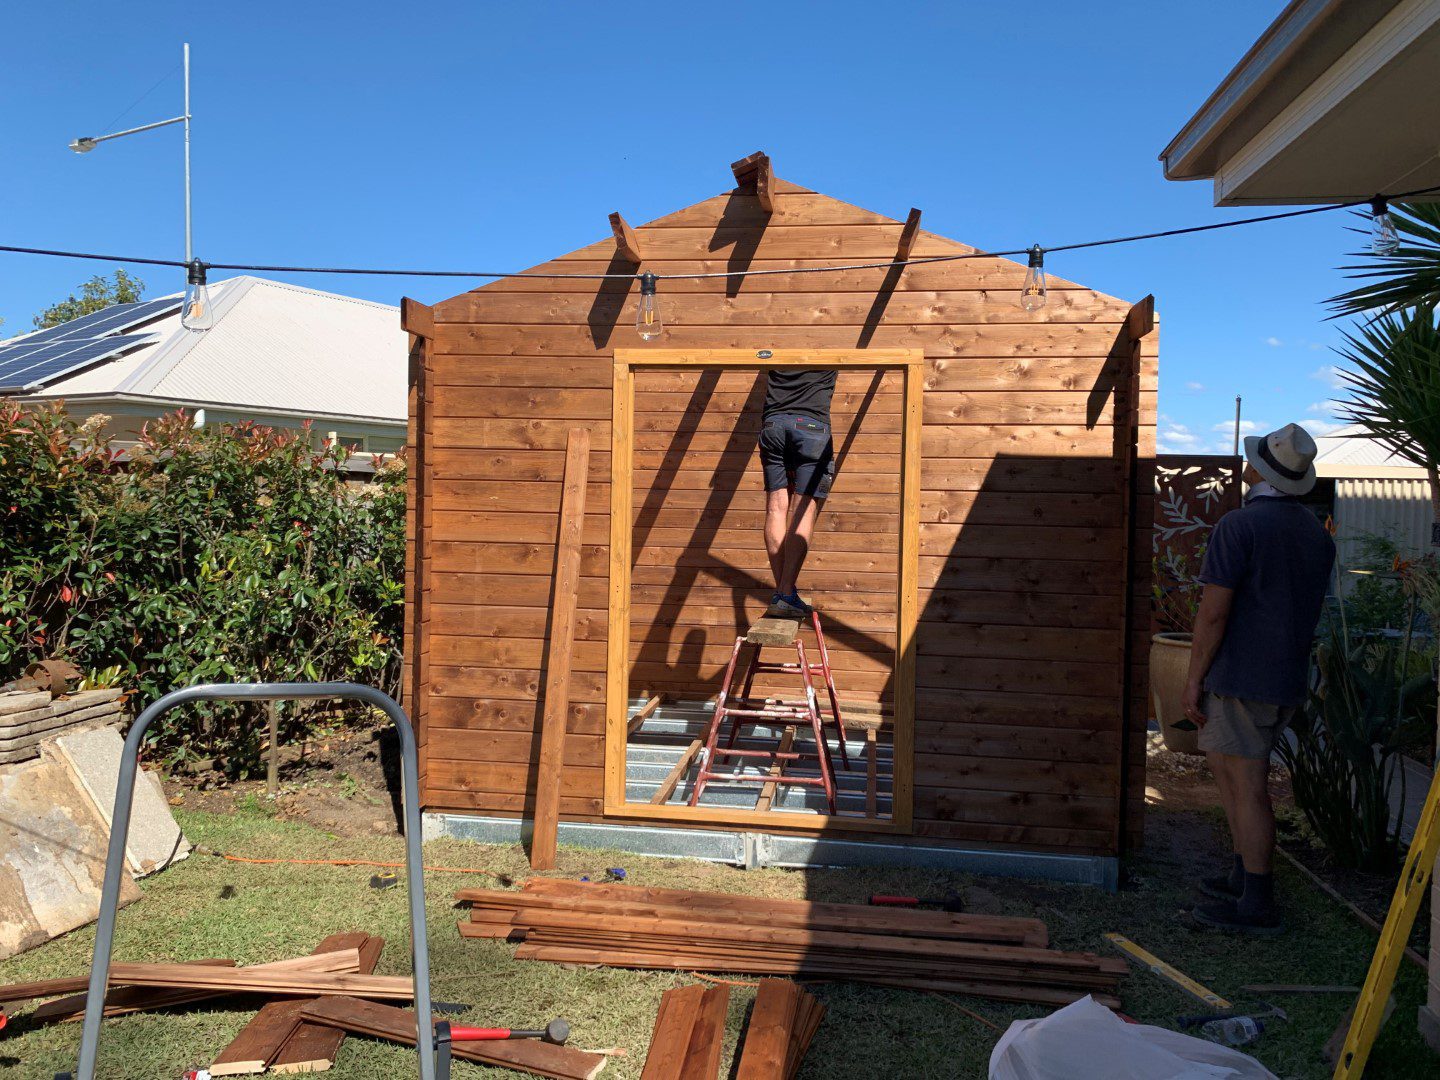
“The hardest parts of the build for us were the preparation of the site and digging the holes etc. We also needed a trench to connect the electrical/data/internet from the main house which delayed us. The actual studio itself was very straightforward when following the instruction folder that came with the kit. The instruction videos on-line were also very useful. “
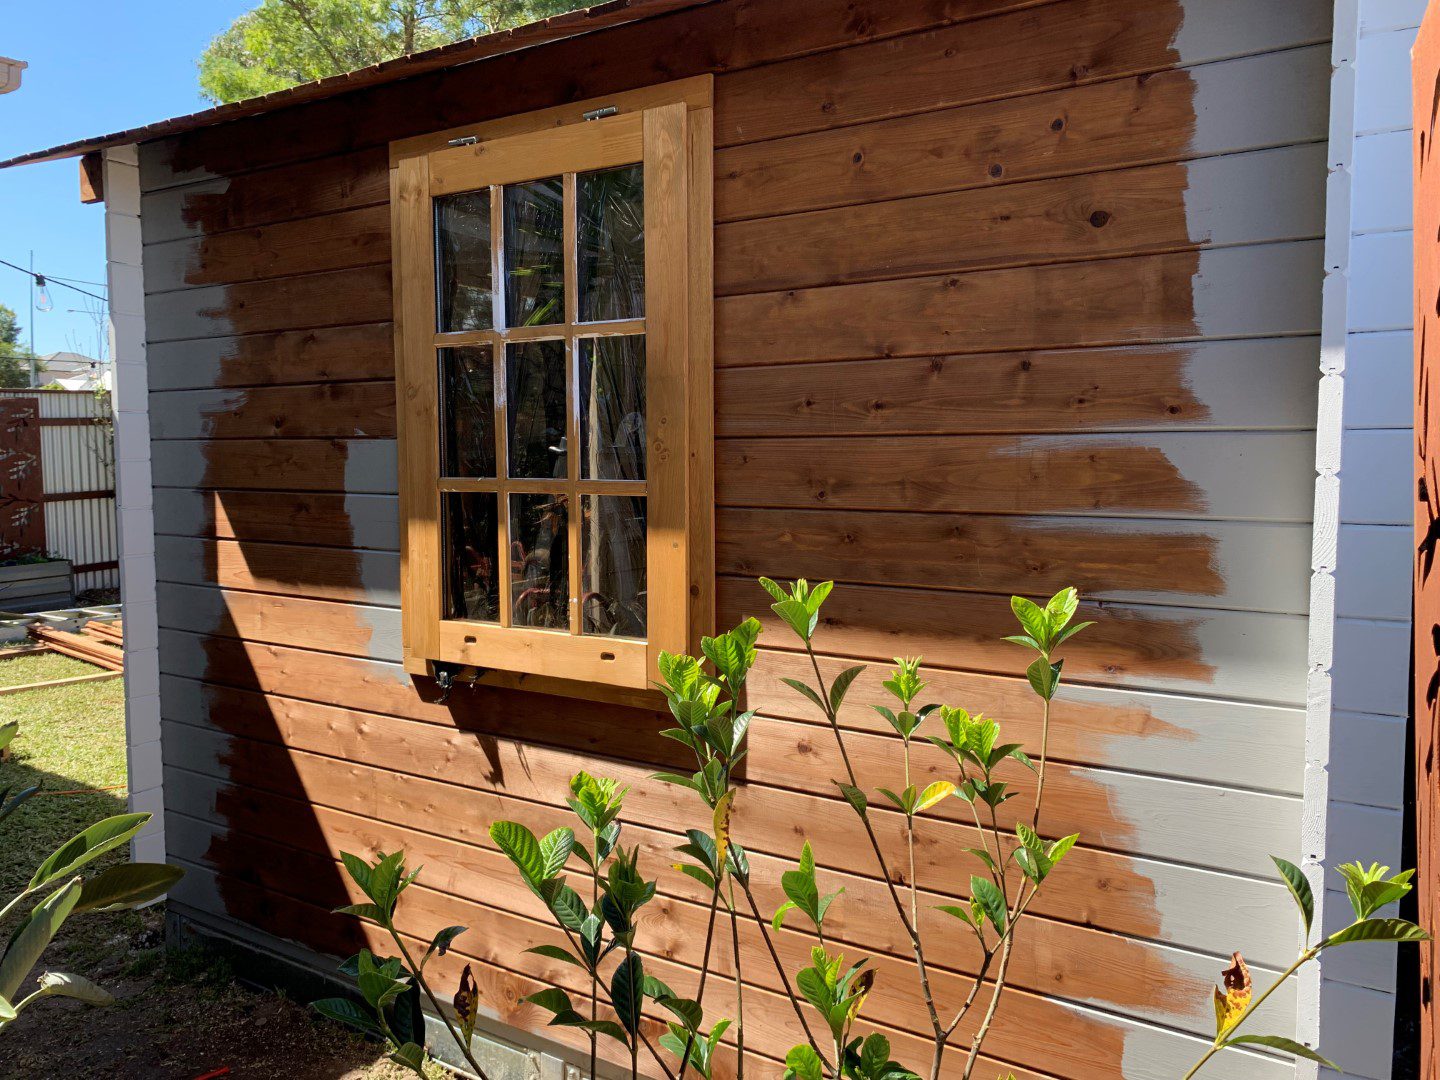
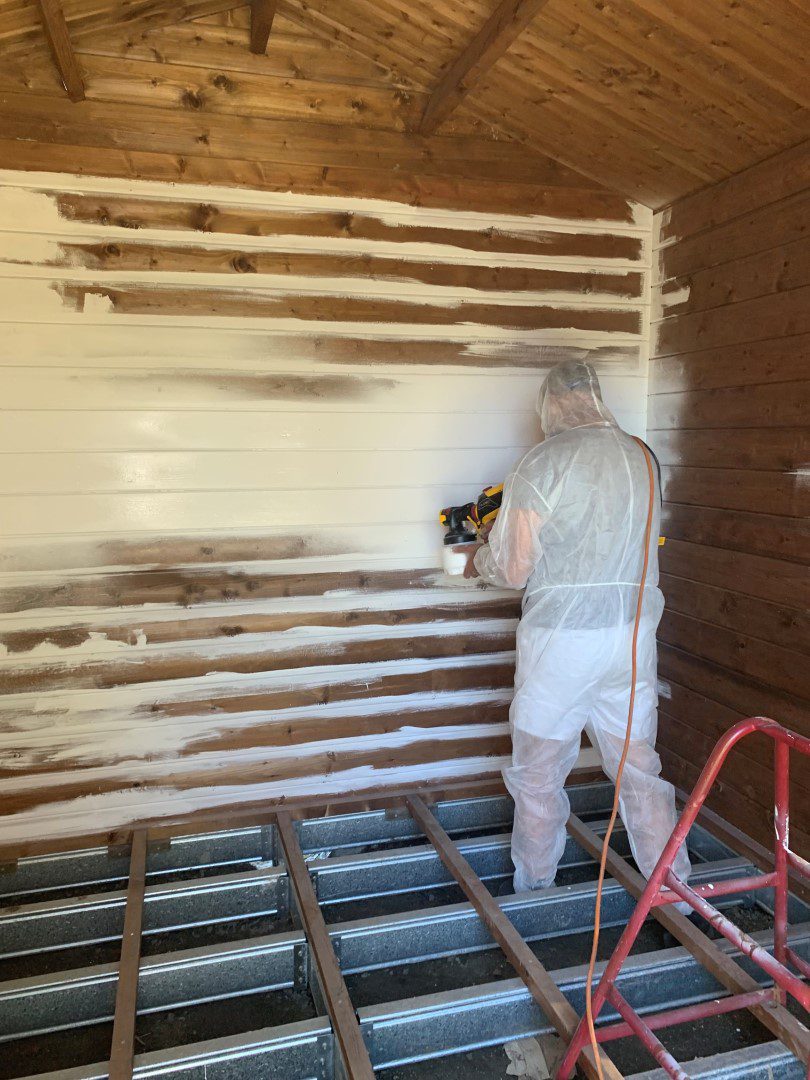
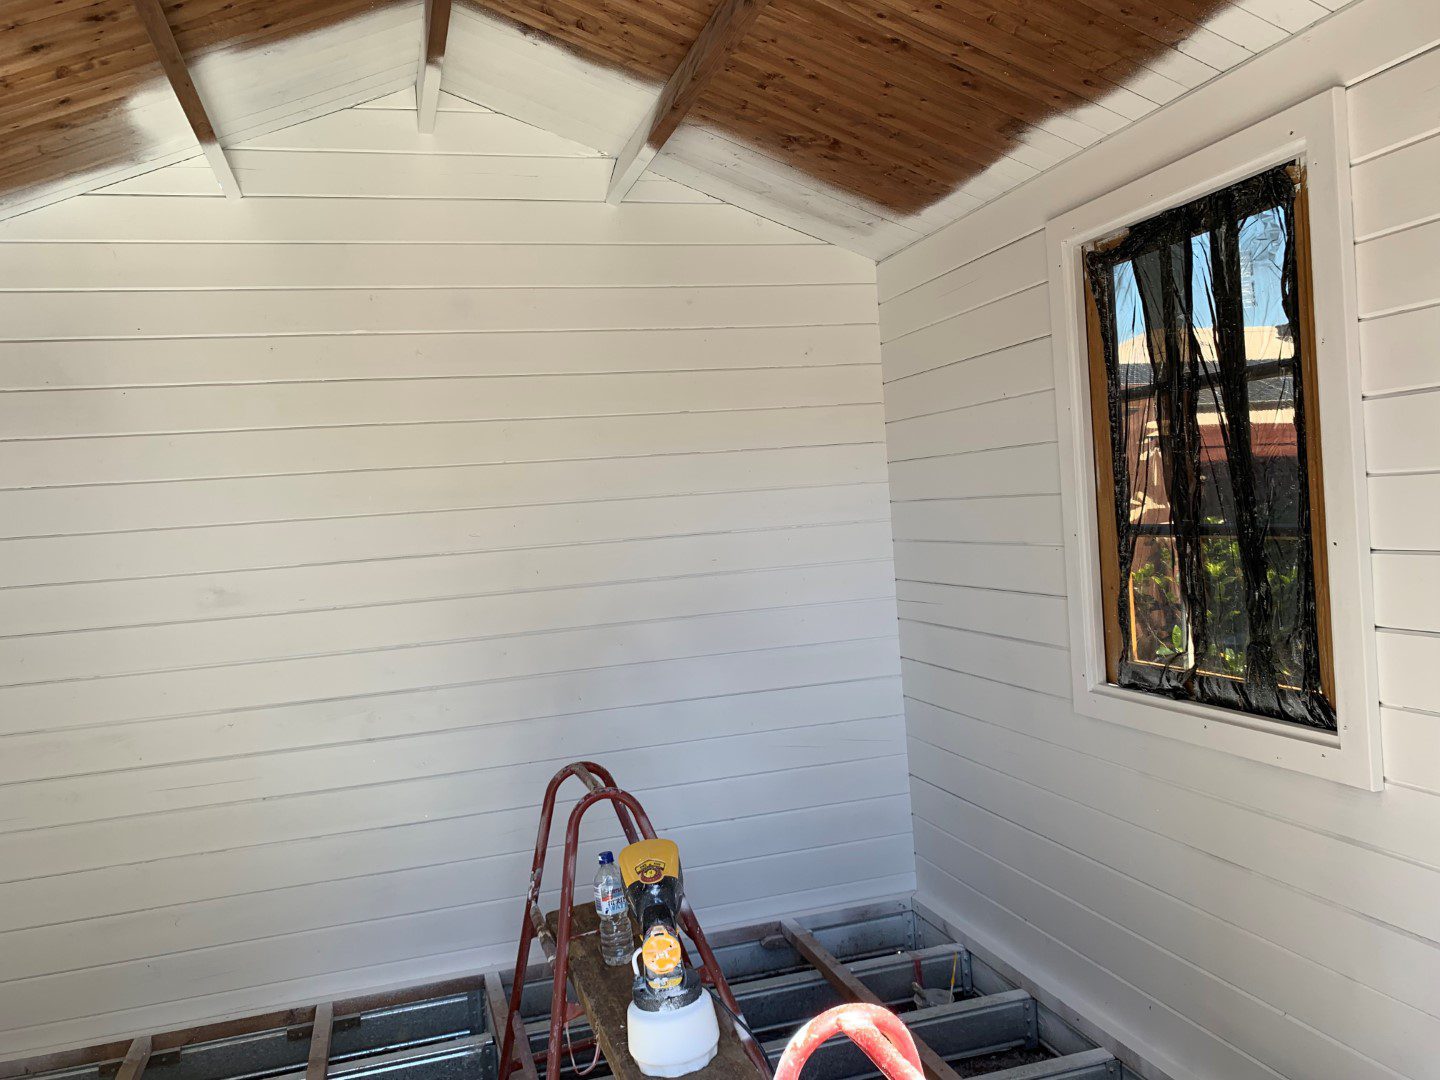
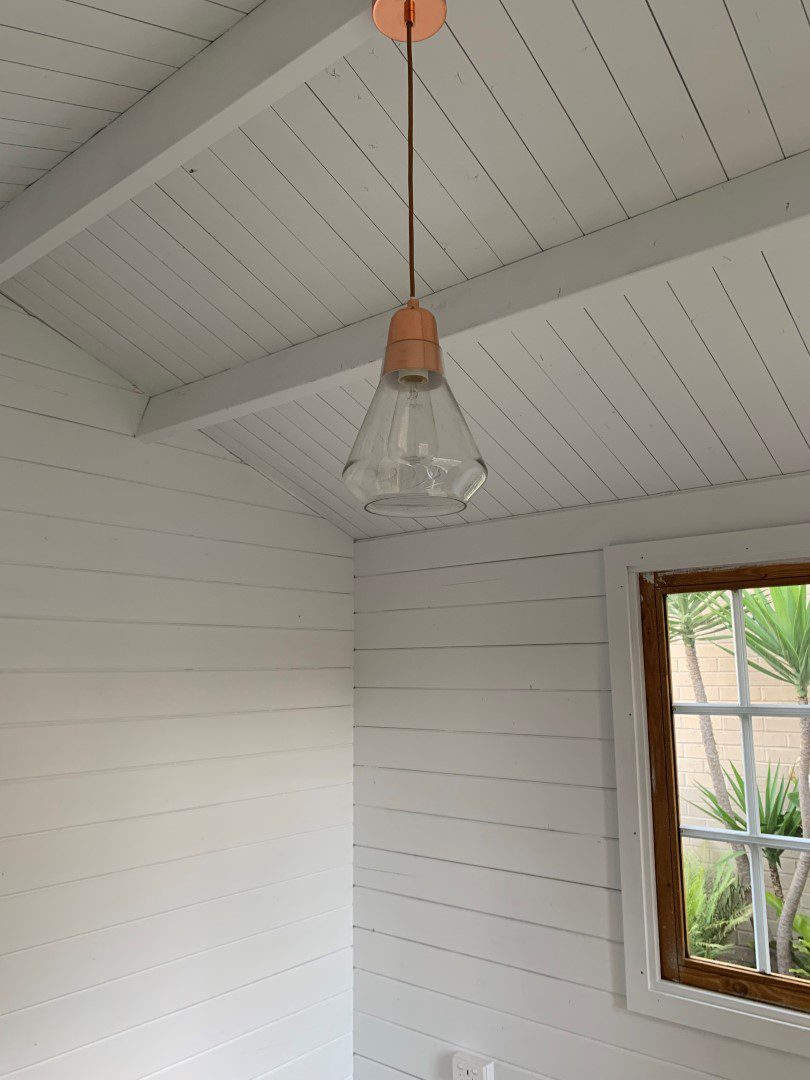
Stage 4: Painting & Decorating
“The painting took us longer than we expected but we did 3 coats inside and out!”
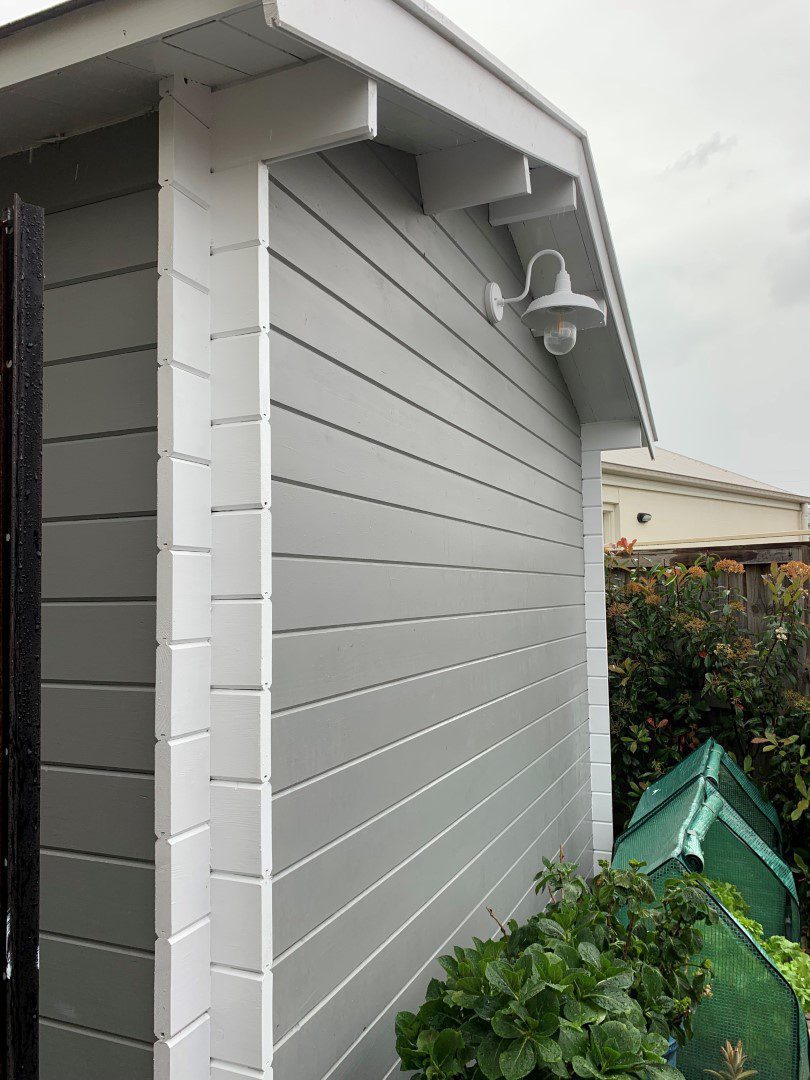
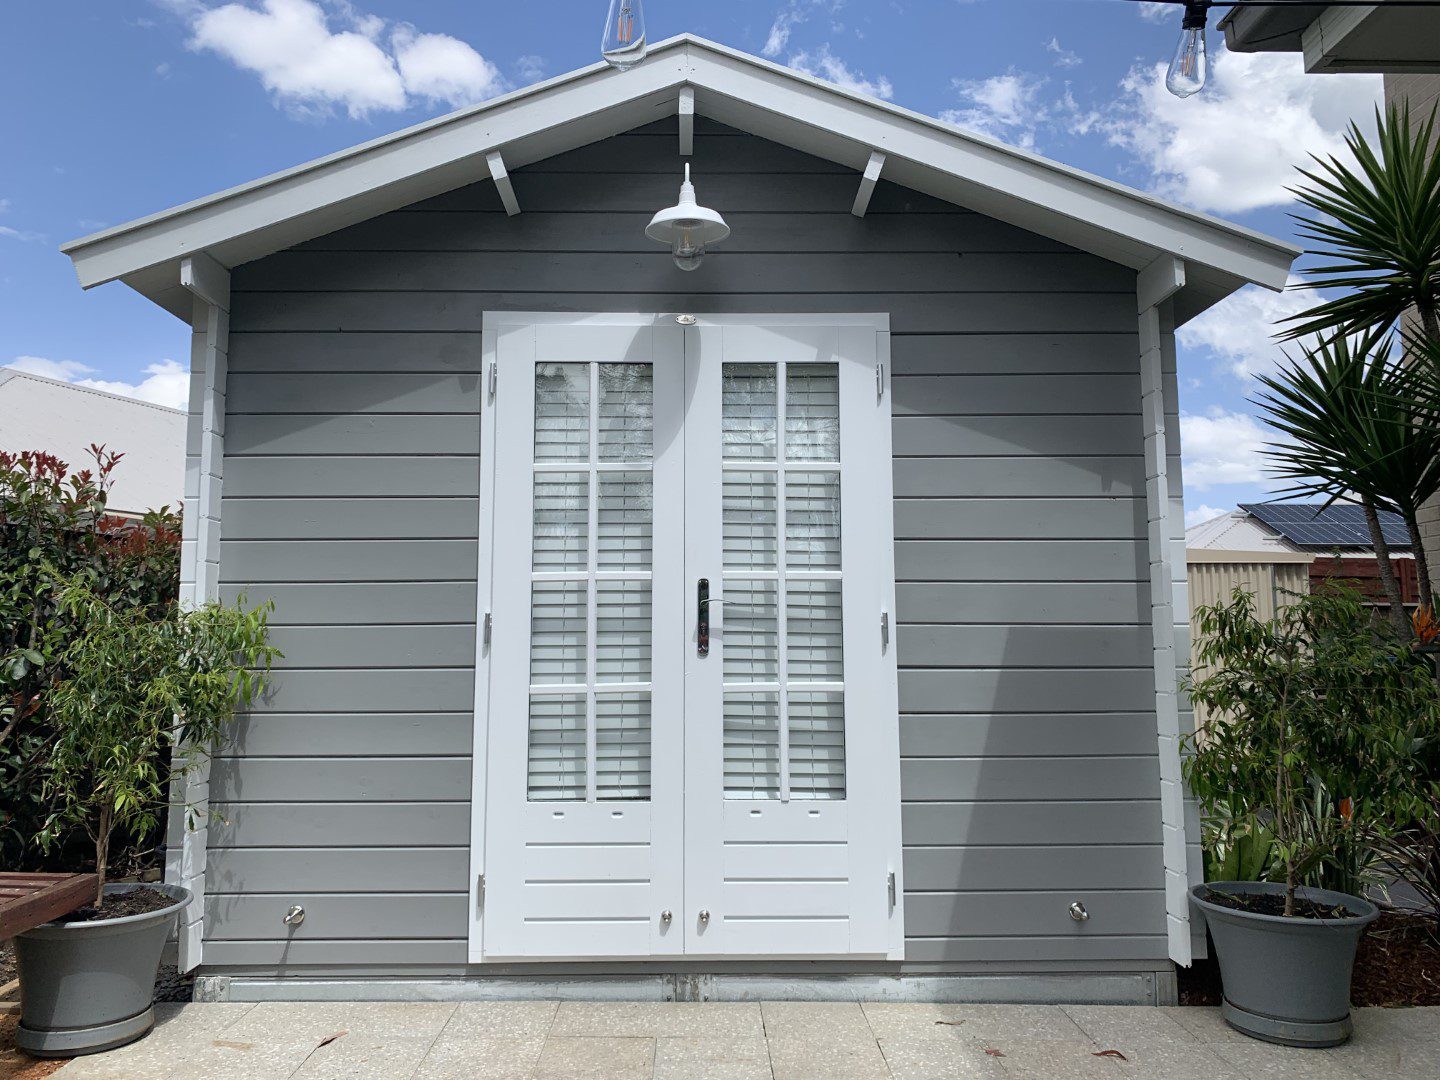
The exterior trim and the interior of the shed were all painted with Dulux Lexicon Half, and the exterior was painted with Dulux Stepney. The solid wood floorboards that come with the kitset were sealed with Cabot’s Clear CFP Floor Waterbased.
Stage 5: Finishing Touches
Notice how the thin wooden cross bars on the doors and windows can be removed, which allows for easy cleaning of the window glass, as well as easier painting during installation.
Follow up: What could we have done differently?
We also asked Julia & Chris about what we at SheShed could have done differently to make their experience easier:
“A video on the roof insulation would be handy but not too difficult to work out in the end. The painting took us longer than we expected but we did 3 coats inside and out! Possibly a pre-painted finish as an option for the door and windows in a classic white could be the way to go.”
We’re pleased to add that we have better installation info for our roof insulation kits under development, and are looking forward to growing further as a company so we can offer additional options in the future like pre-painted components!
We’re also super thankful to great customers like Chris and Julia for taking the time to send us these great photos of their build process and answer all our questions about how it went for them. Thanks guys!
2024
SheShed Australia & New Zealand. All rights reserved.